
One of the biggest things that can improve your photography has absolutely nothing to do with buying a better camera or lens.
It’s composition.
You can have beautiful light, an incredible subject and technically perfect exposure, but if the elements inside your frame haven’t been considered, the photograph can still feel ordinary.
After more than 20 years working professionally as a photographer, composition is something I think about almost every time I lift a camera to my eye.
The goal isn’t to blindly follow a collection of photography rules. It’s to become aware of the entire frame and make deliberate decisions about why things are positioned where they are.
In this guide I’m going to run through 10 photography composition techniques I use regularly in my own work, from surf and water photography through to landscapes, lifestyle and commercial photography.
I’ll also show why sometimes breaking the rules works perfectly, and why at other times a photograph can fall apart simply because the composition wasn’t considered carefully enough.
Prefer to watch? You can see all of these techniques demonstrated with my own photographs in the full video below.
What is composition in photography?
Photography composition is simply the way the different visual elements are arranged inside your frame.
That includes obvious things such as where you position your main subject, but it also includes the horizon, foreground, background, lines, colour, empty space, patterns, perspective and even the direction somebody is looking or moving.
For me, good composition comes down to intent.
If you deliberately place something in the middle of the frame because that is exactly how you want the photograph to feel, great.
If the subject simply ended up in the middle because you were so focused on them that you forgot to look at everything else around them, that’s a completely different story.
The purpose of learning composition is not to remove creativity. It is to heighten your awareness so that you start making these choices deliberately.
1. Start with the rule of thirds
The rule of thirds is probably the best-known photography composition technique, and for good reason.
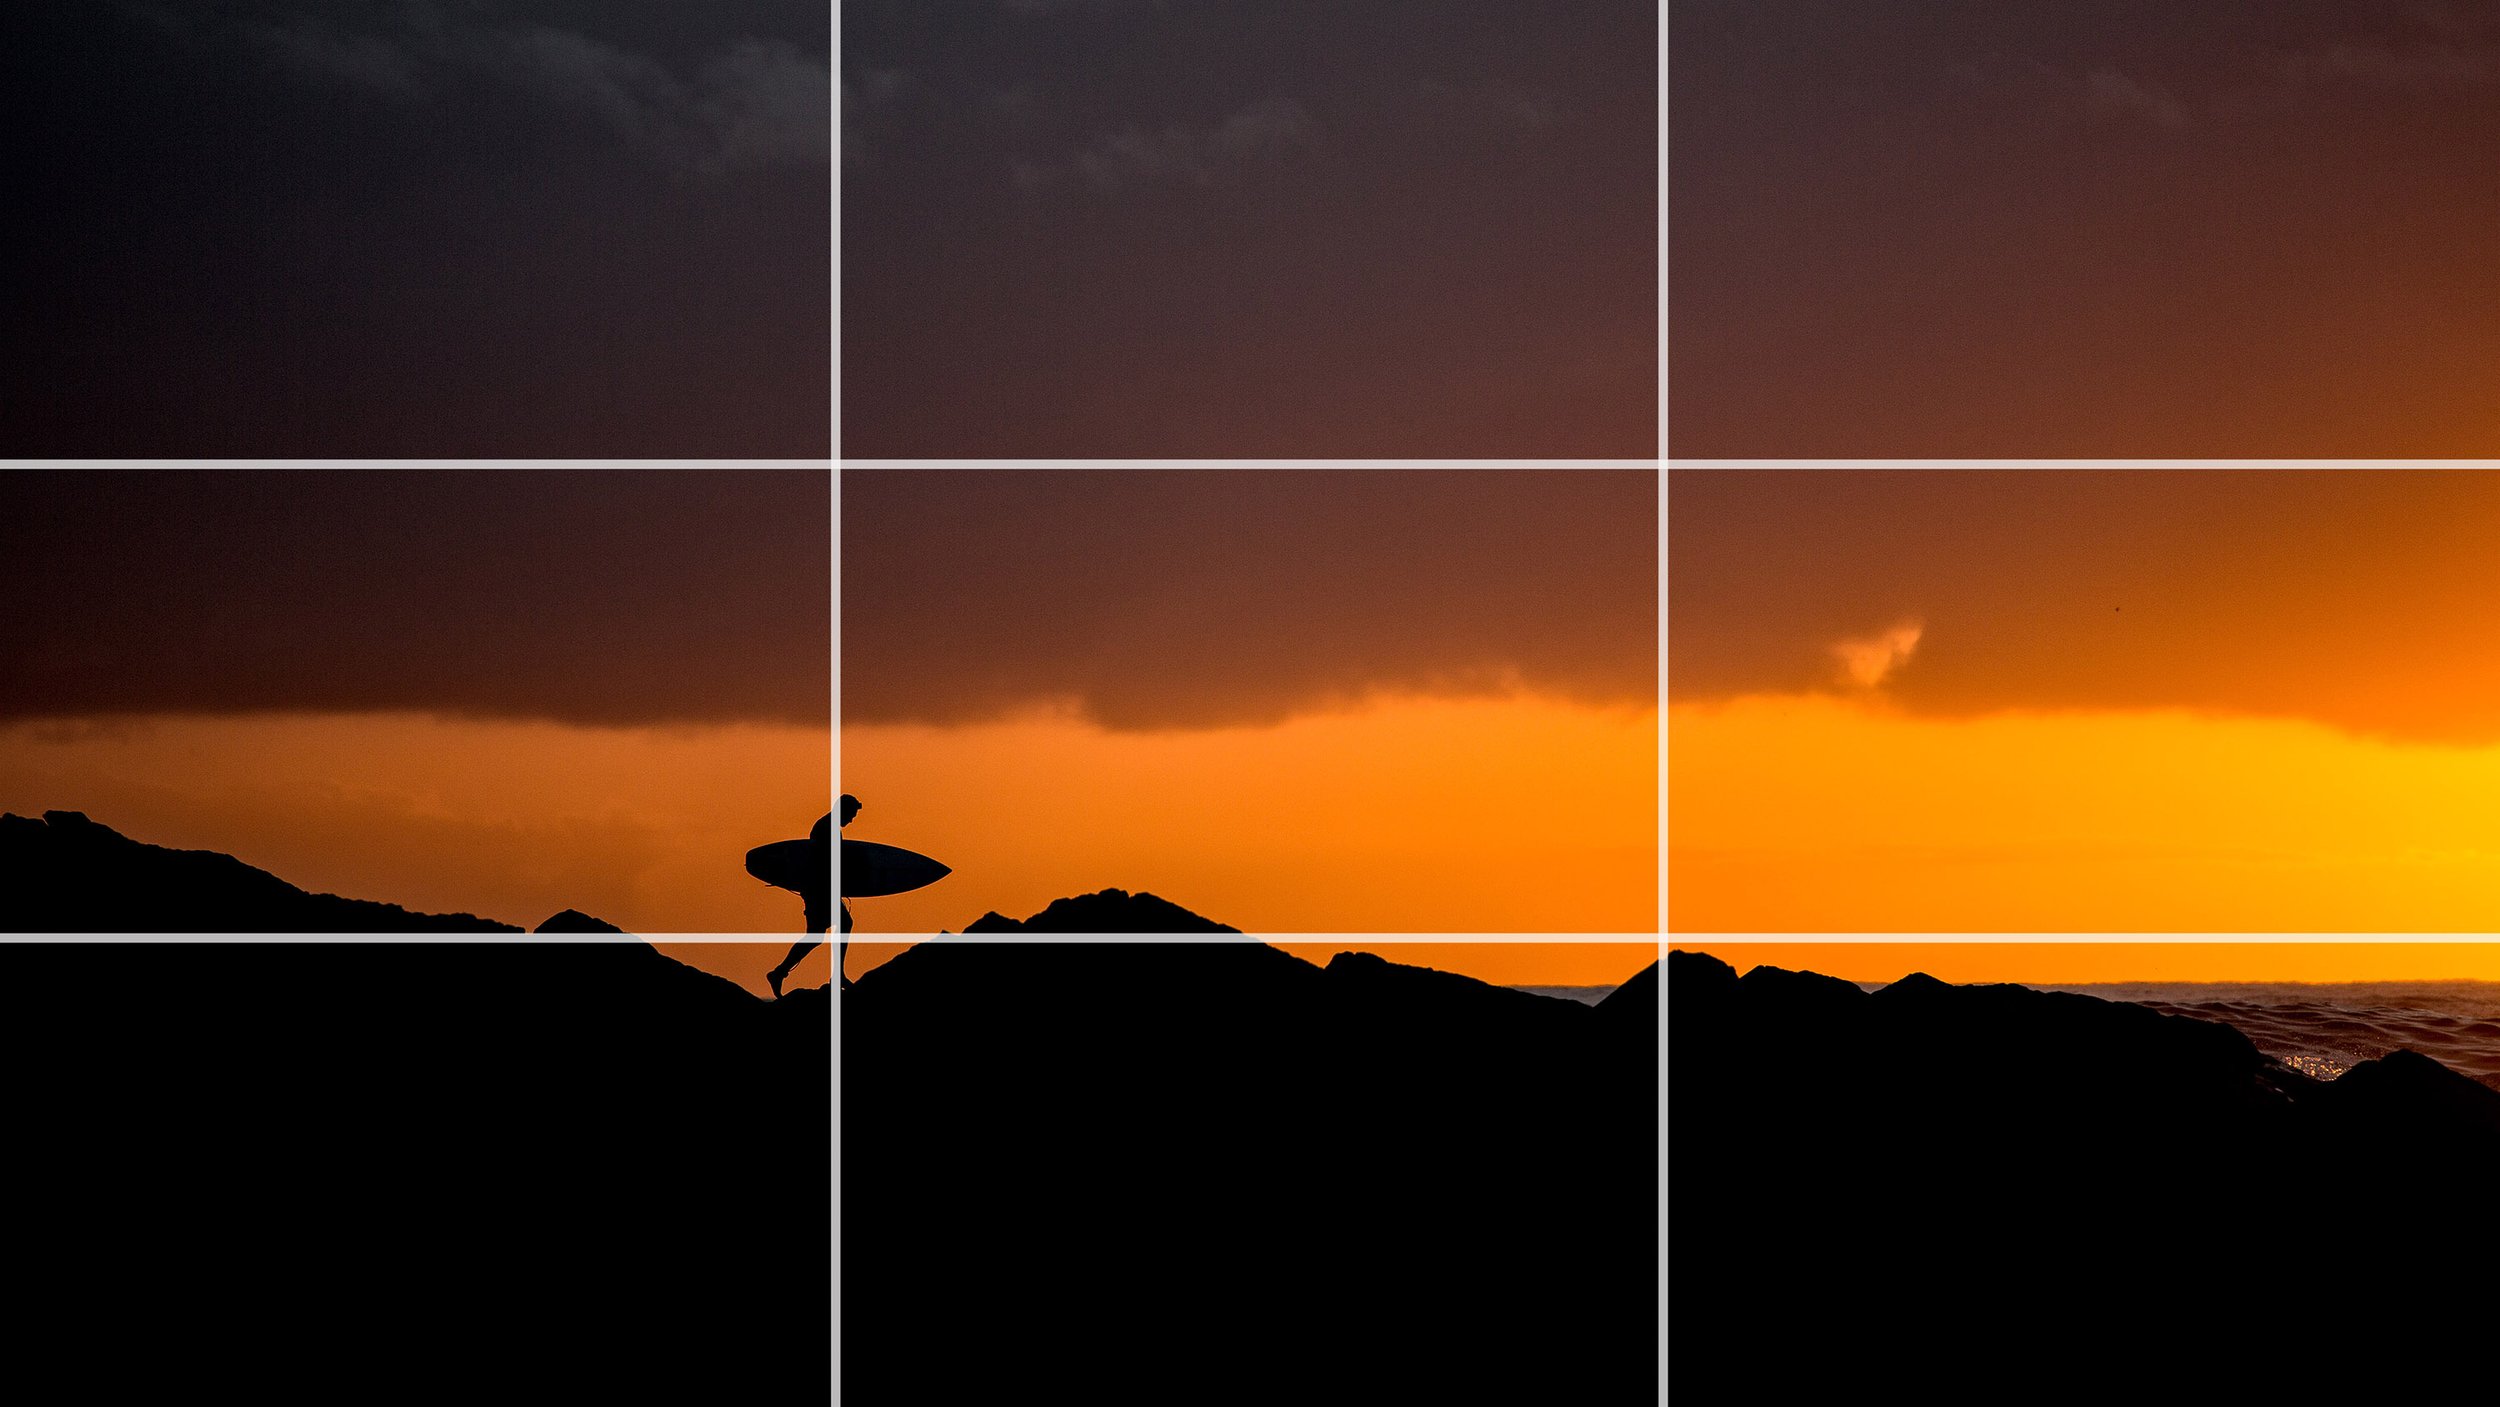
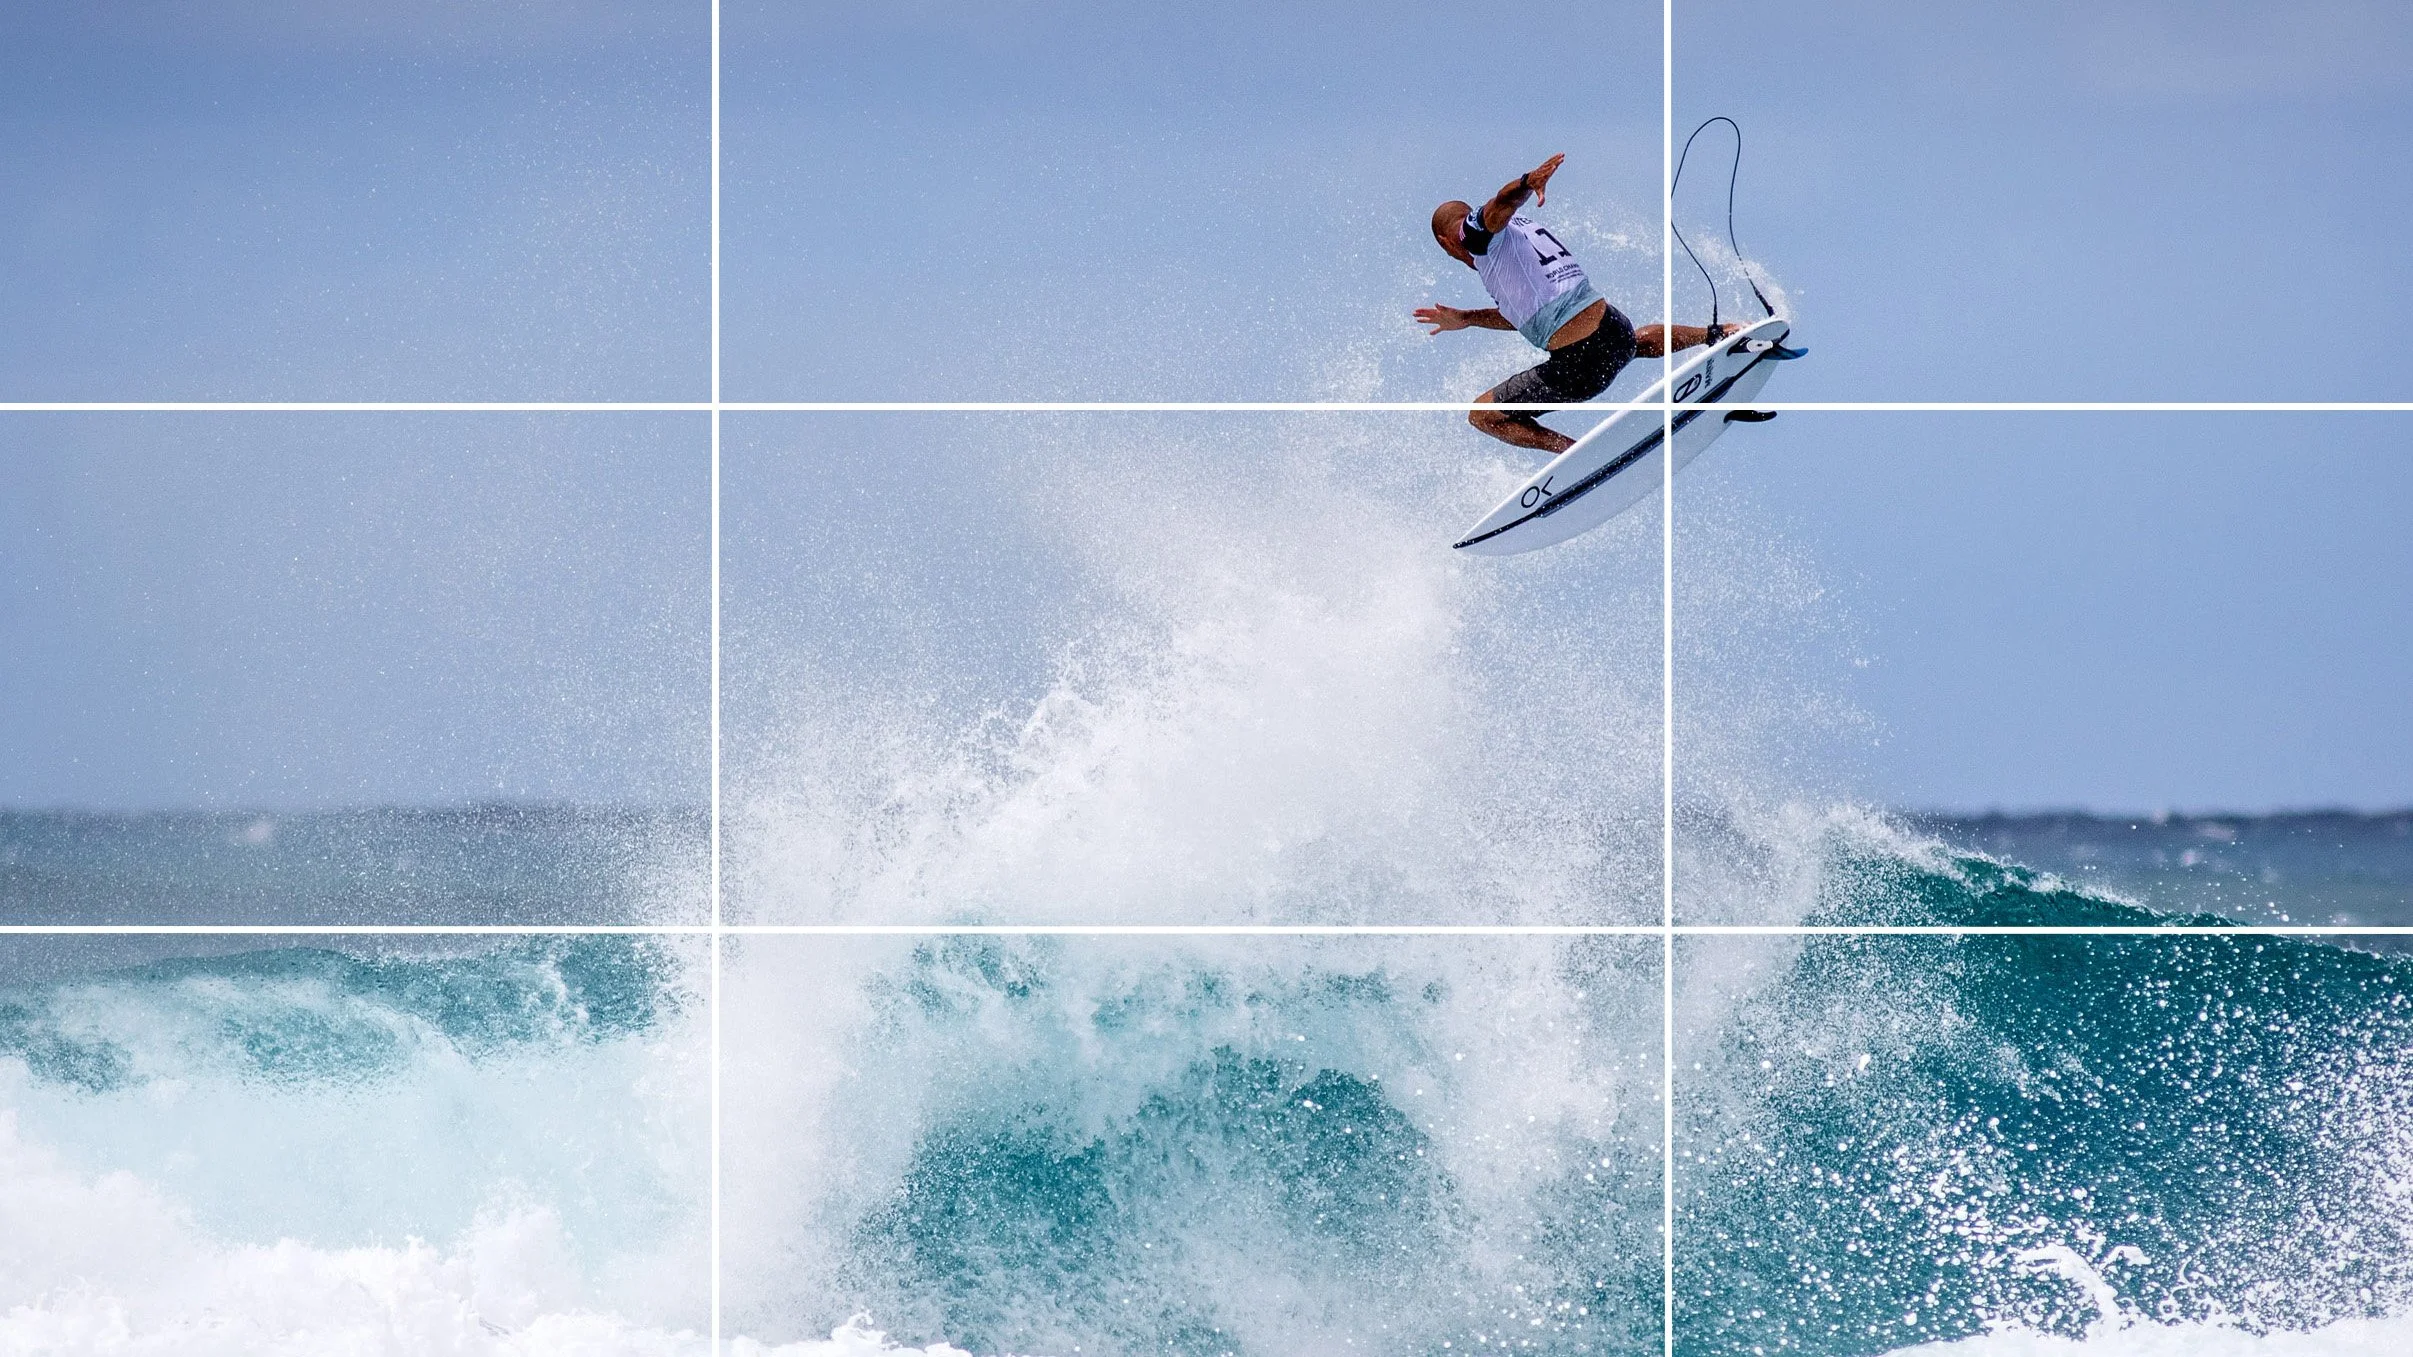
Imagine dividing your photograph into nine equal rectangles using two horizontal and two vertical lines.
Instead of automatically placing your subject dead centre, try positioning the main point of interest along one of those lines or close to one of the four intersections.
I use this regularly in surf photography.
When photographing a surfer, I often position them toward one side of the frame and leave space in front of the direction they are travelling.
That space does more than make the picture look balanced.
It helps tell the story.
The viewer can see where the surfer is going and starts imagining what might happen next.
Compare that with placing the surfer directly in the middle of every frame. Often the photographer is concentrating so heavily on following the surfer that they stop seeing the rest of the composition.
That is something I see regularly in surf photography shot from the land.
Use the rule of thirds for horizons too
The same grid can help enormously with landscapes and seascapes.
First, make sure the horizon is straight.
Then think about whether the horizon belongs near the upper third or lower third rather than automatically putting it straight through the centre.
Which one you choose depends on what is most important.
If you have a spectacular sky, you might give the sky two-thirds of the frame.
If the foreground is the real hero, let that dominate instead.
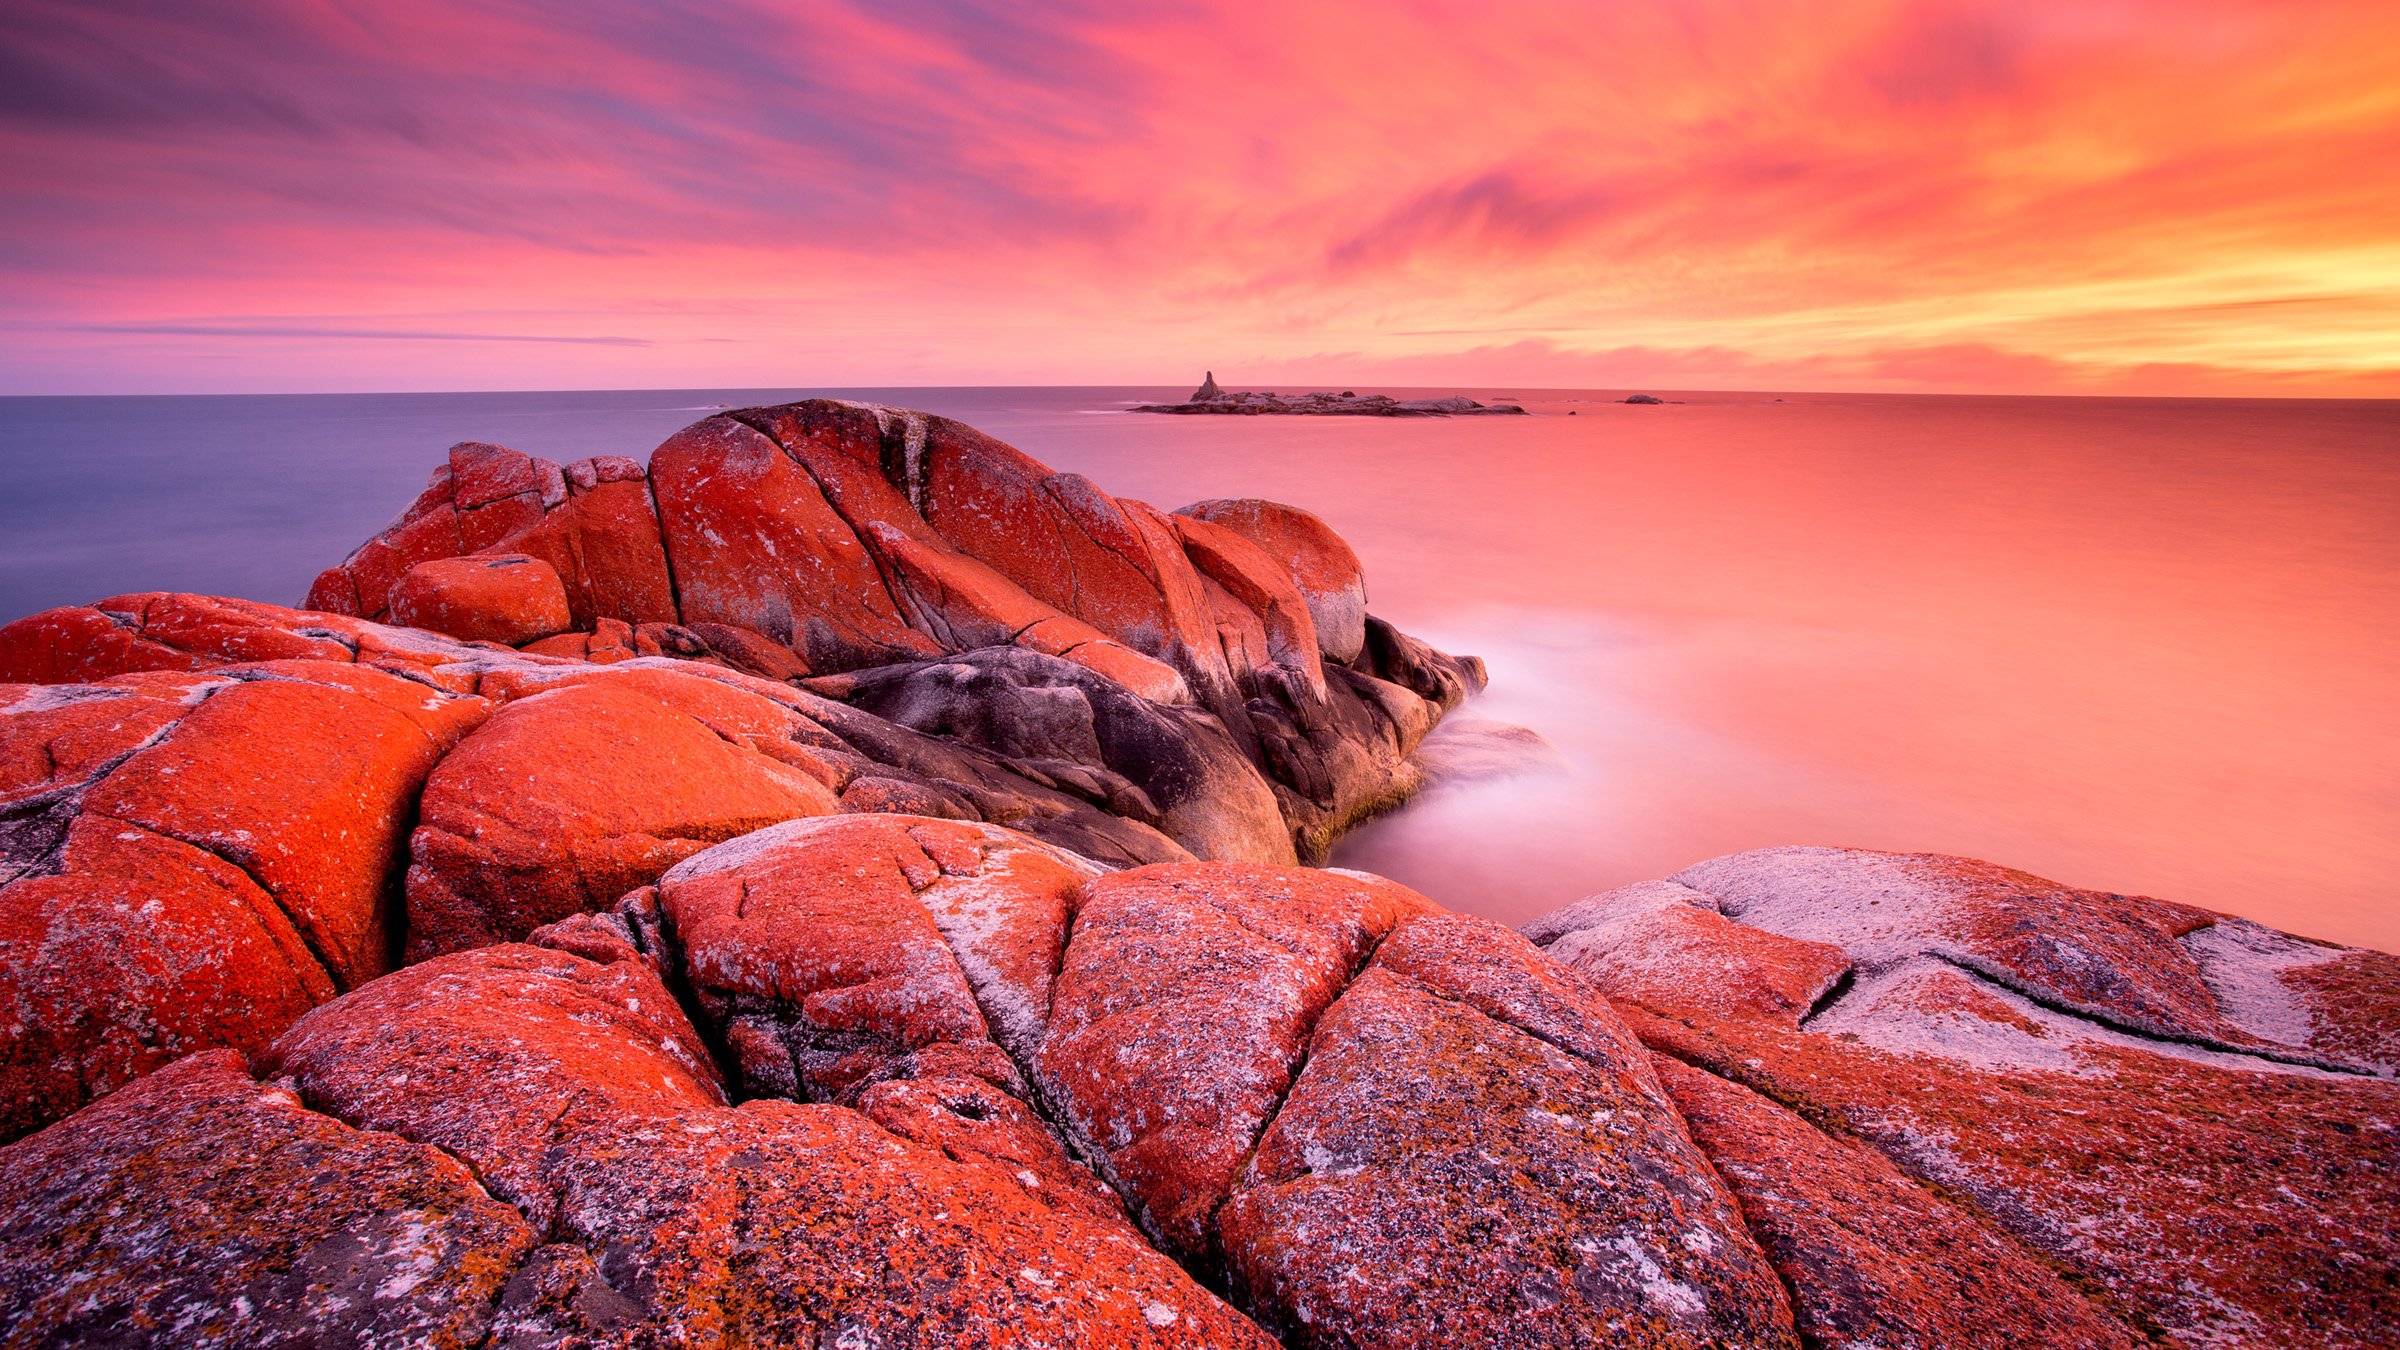
I photographed a landscape at Tasmania’s Bay of Fires where the foreground was covered with beautiful red-orange rocks and incredible texture. The sky was also colourful, but the rocks were the part of the scene I really wanted the viewer to experience.
So I sacrificed much of that beautiful sky and gave more of the frame to the foreground.
That is an important lesson in composition:
You don’t have to include everything that looks good.
Sometimes leaving something out creates a much stronger photograph.
2. Look for foreground interest
Foreground interest is one of the compositional techniques I look for constantly.
Rather than photographing only the main subject, ask yourself whether something closer to the camera can help lead the viewer into the scene.
That could be:
a person
rocks
plants
reflections
water
architecture
an out-of-focus object
something that naturally frames your subject
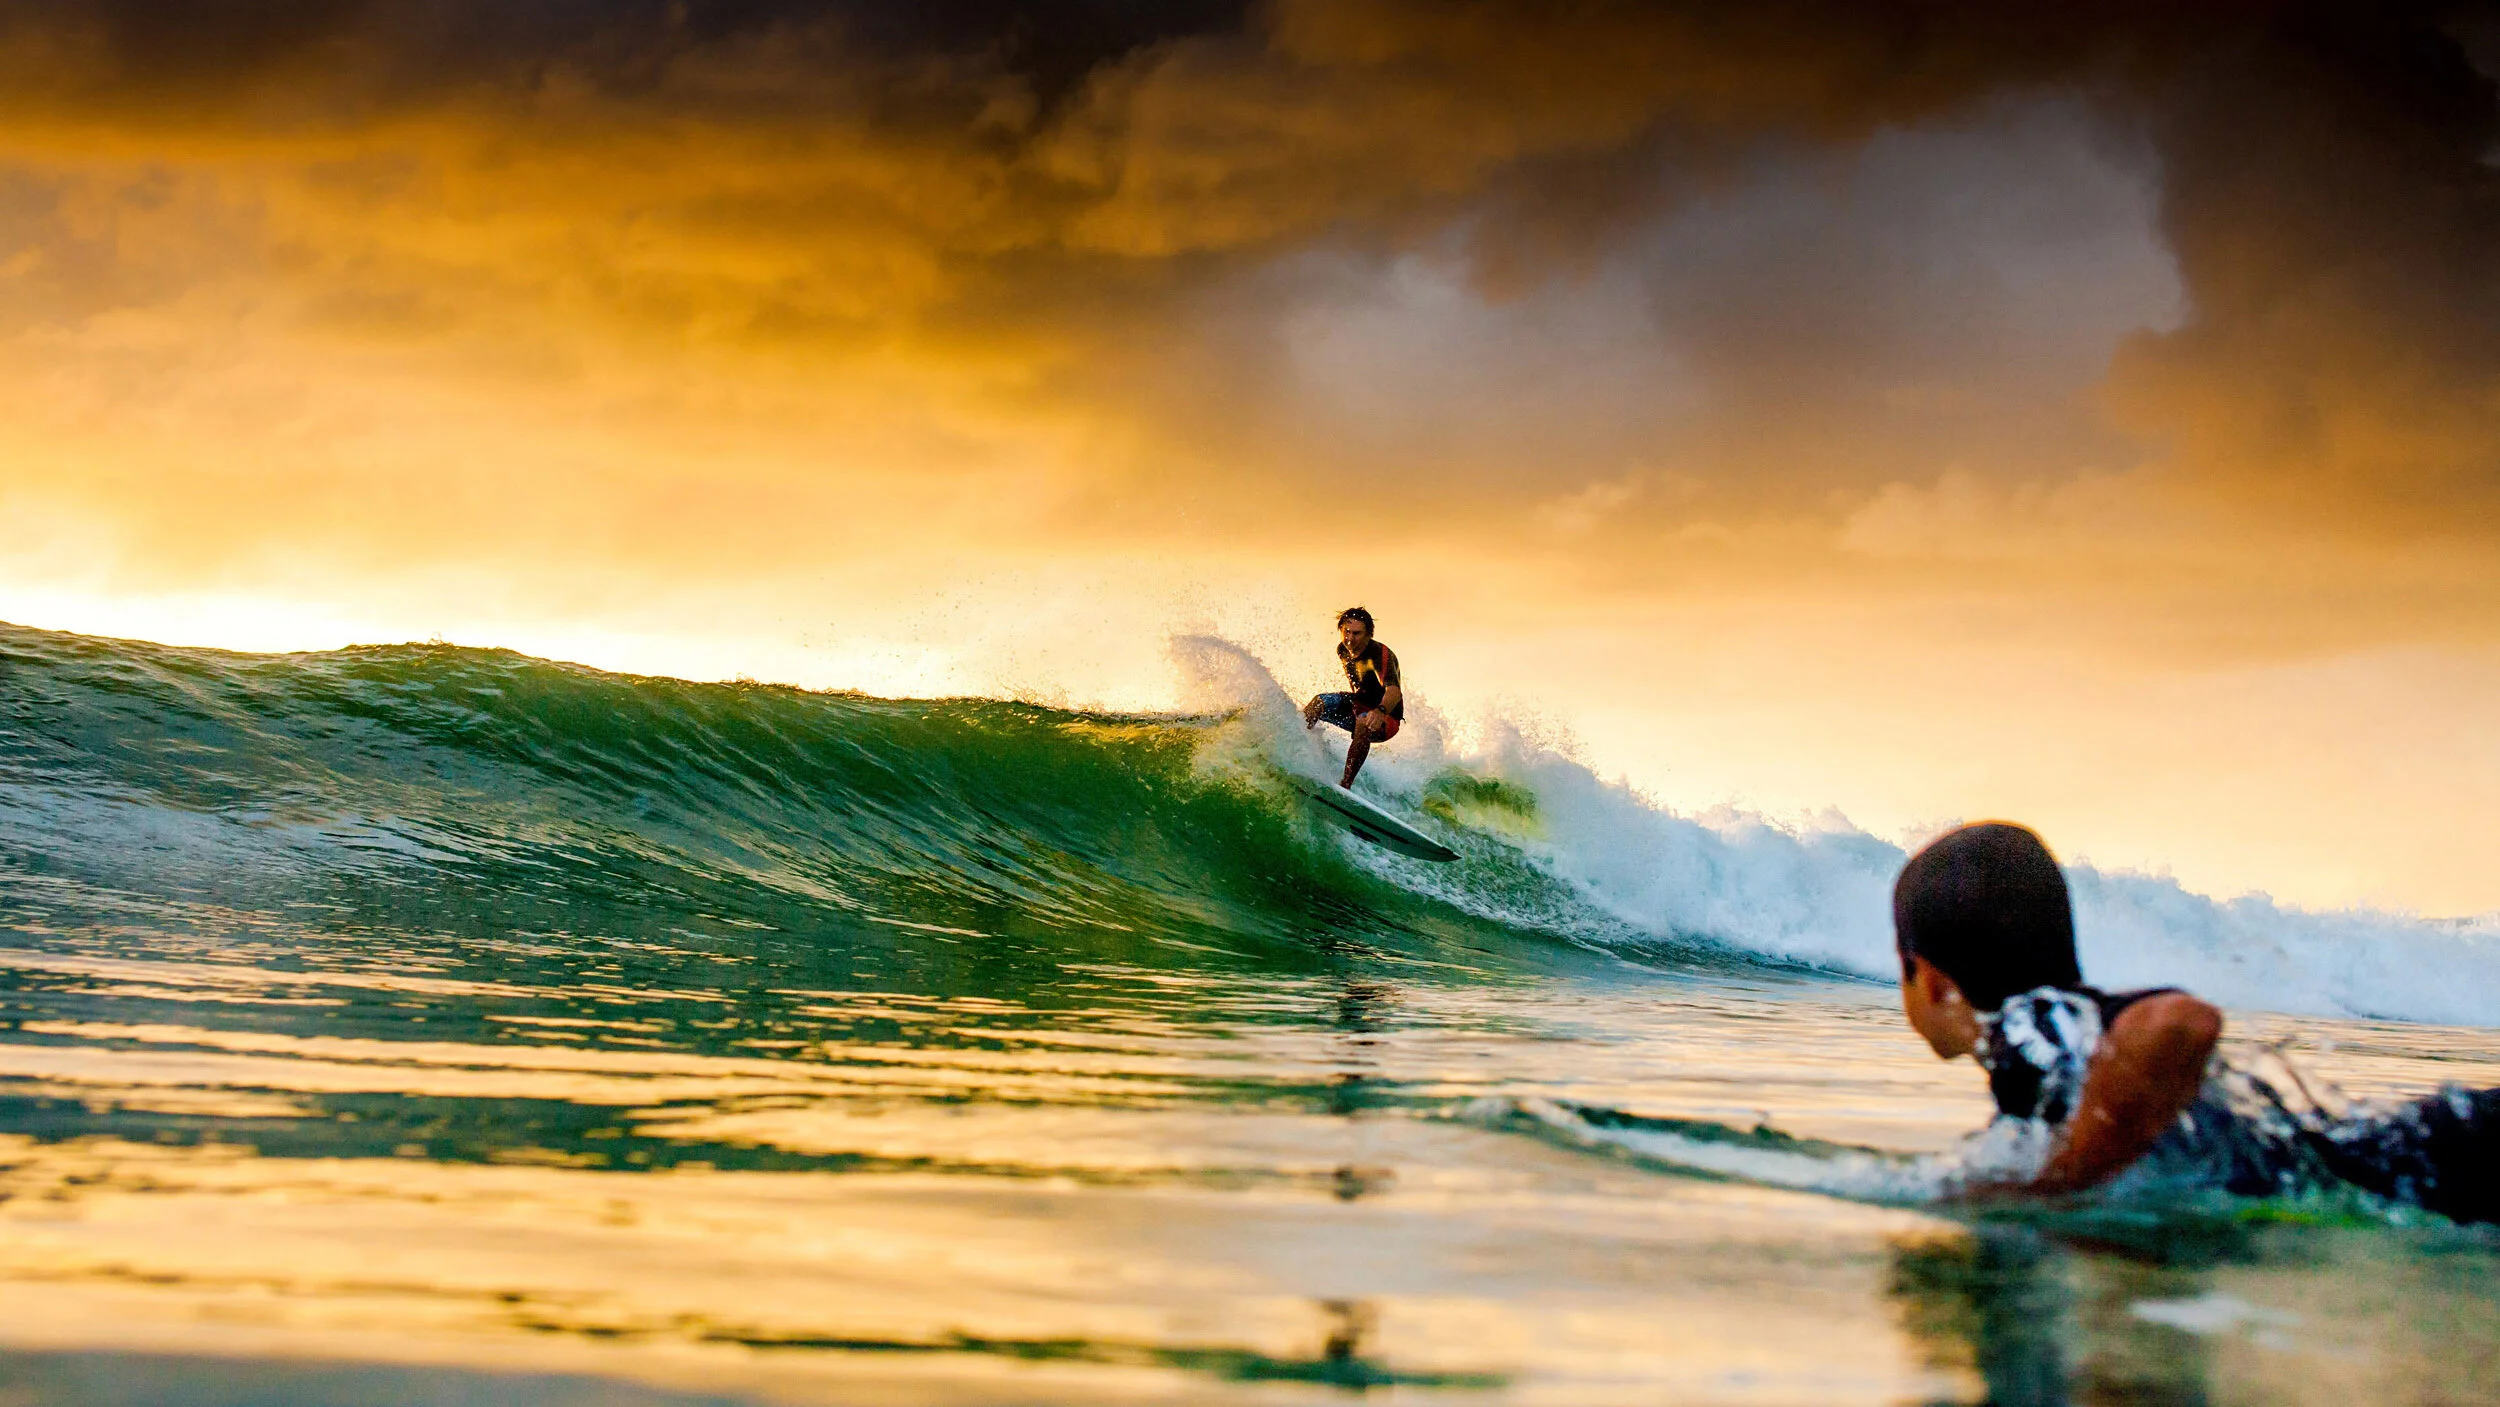
One of my surf images includes an out-of-focus boy paddling in the foreground while his father surfs in the distance.
The father is still the main subject, but the foreground changes the photograph completely.
You now enter the scene from the boy’s perspective and visually travel toward the surfer.
It creates depth, context and story.
Foreground elements can also act as natural framing. A tree, rock, doorway or other object can give an otherwise straightforward photograph another layer.
Whenever I arrive at a location, I’m not only looking at the obvious subject.
I’m looking around it.
3. Use leading lines to guide the viewer
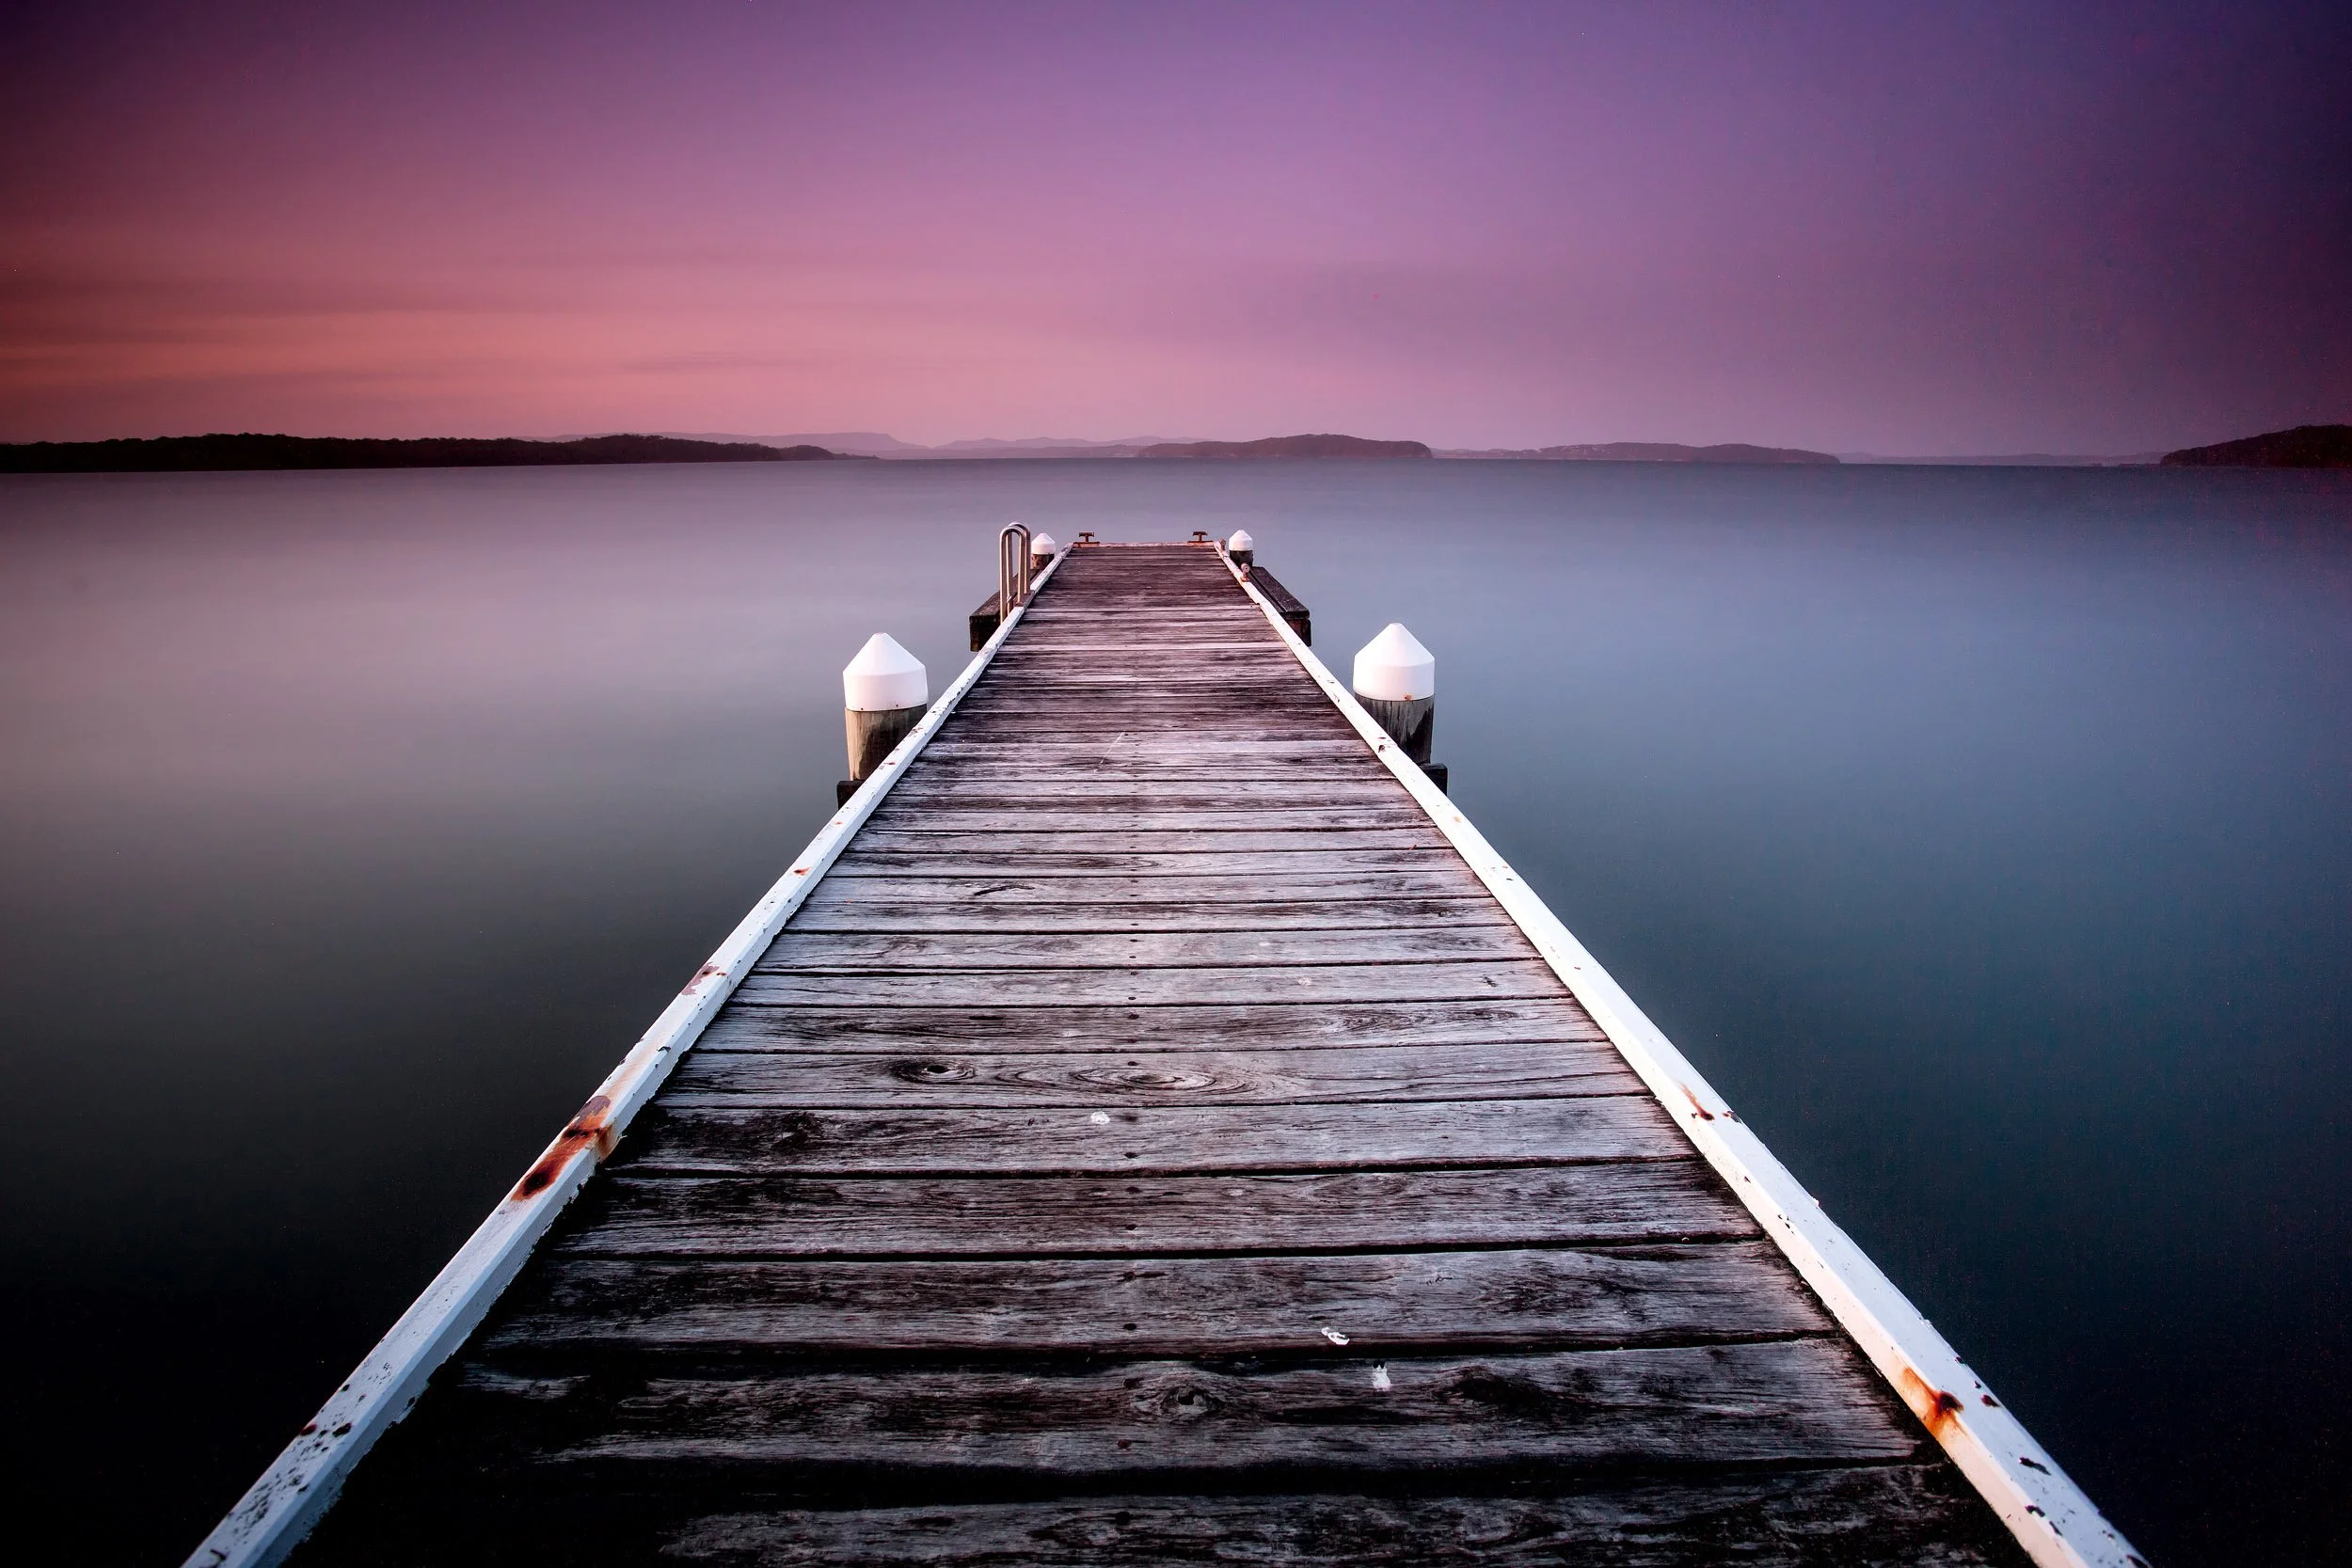
Leading lines are another powerful way to control how somebody experiences your photograph.
A strong line can pull the viewer into the image or guide their eye toward the main subject.
Roads are an obvious example.
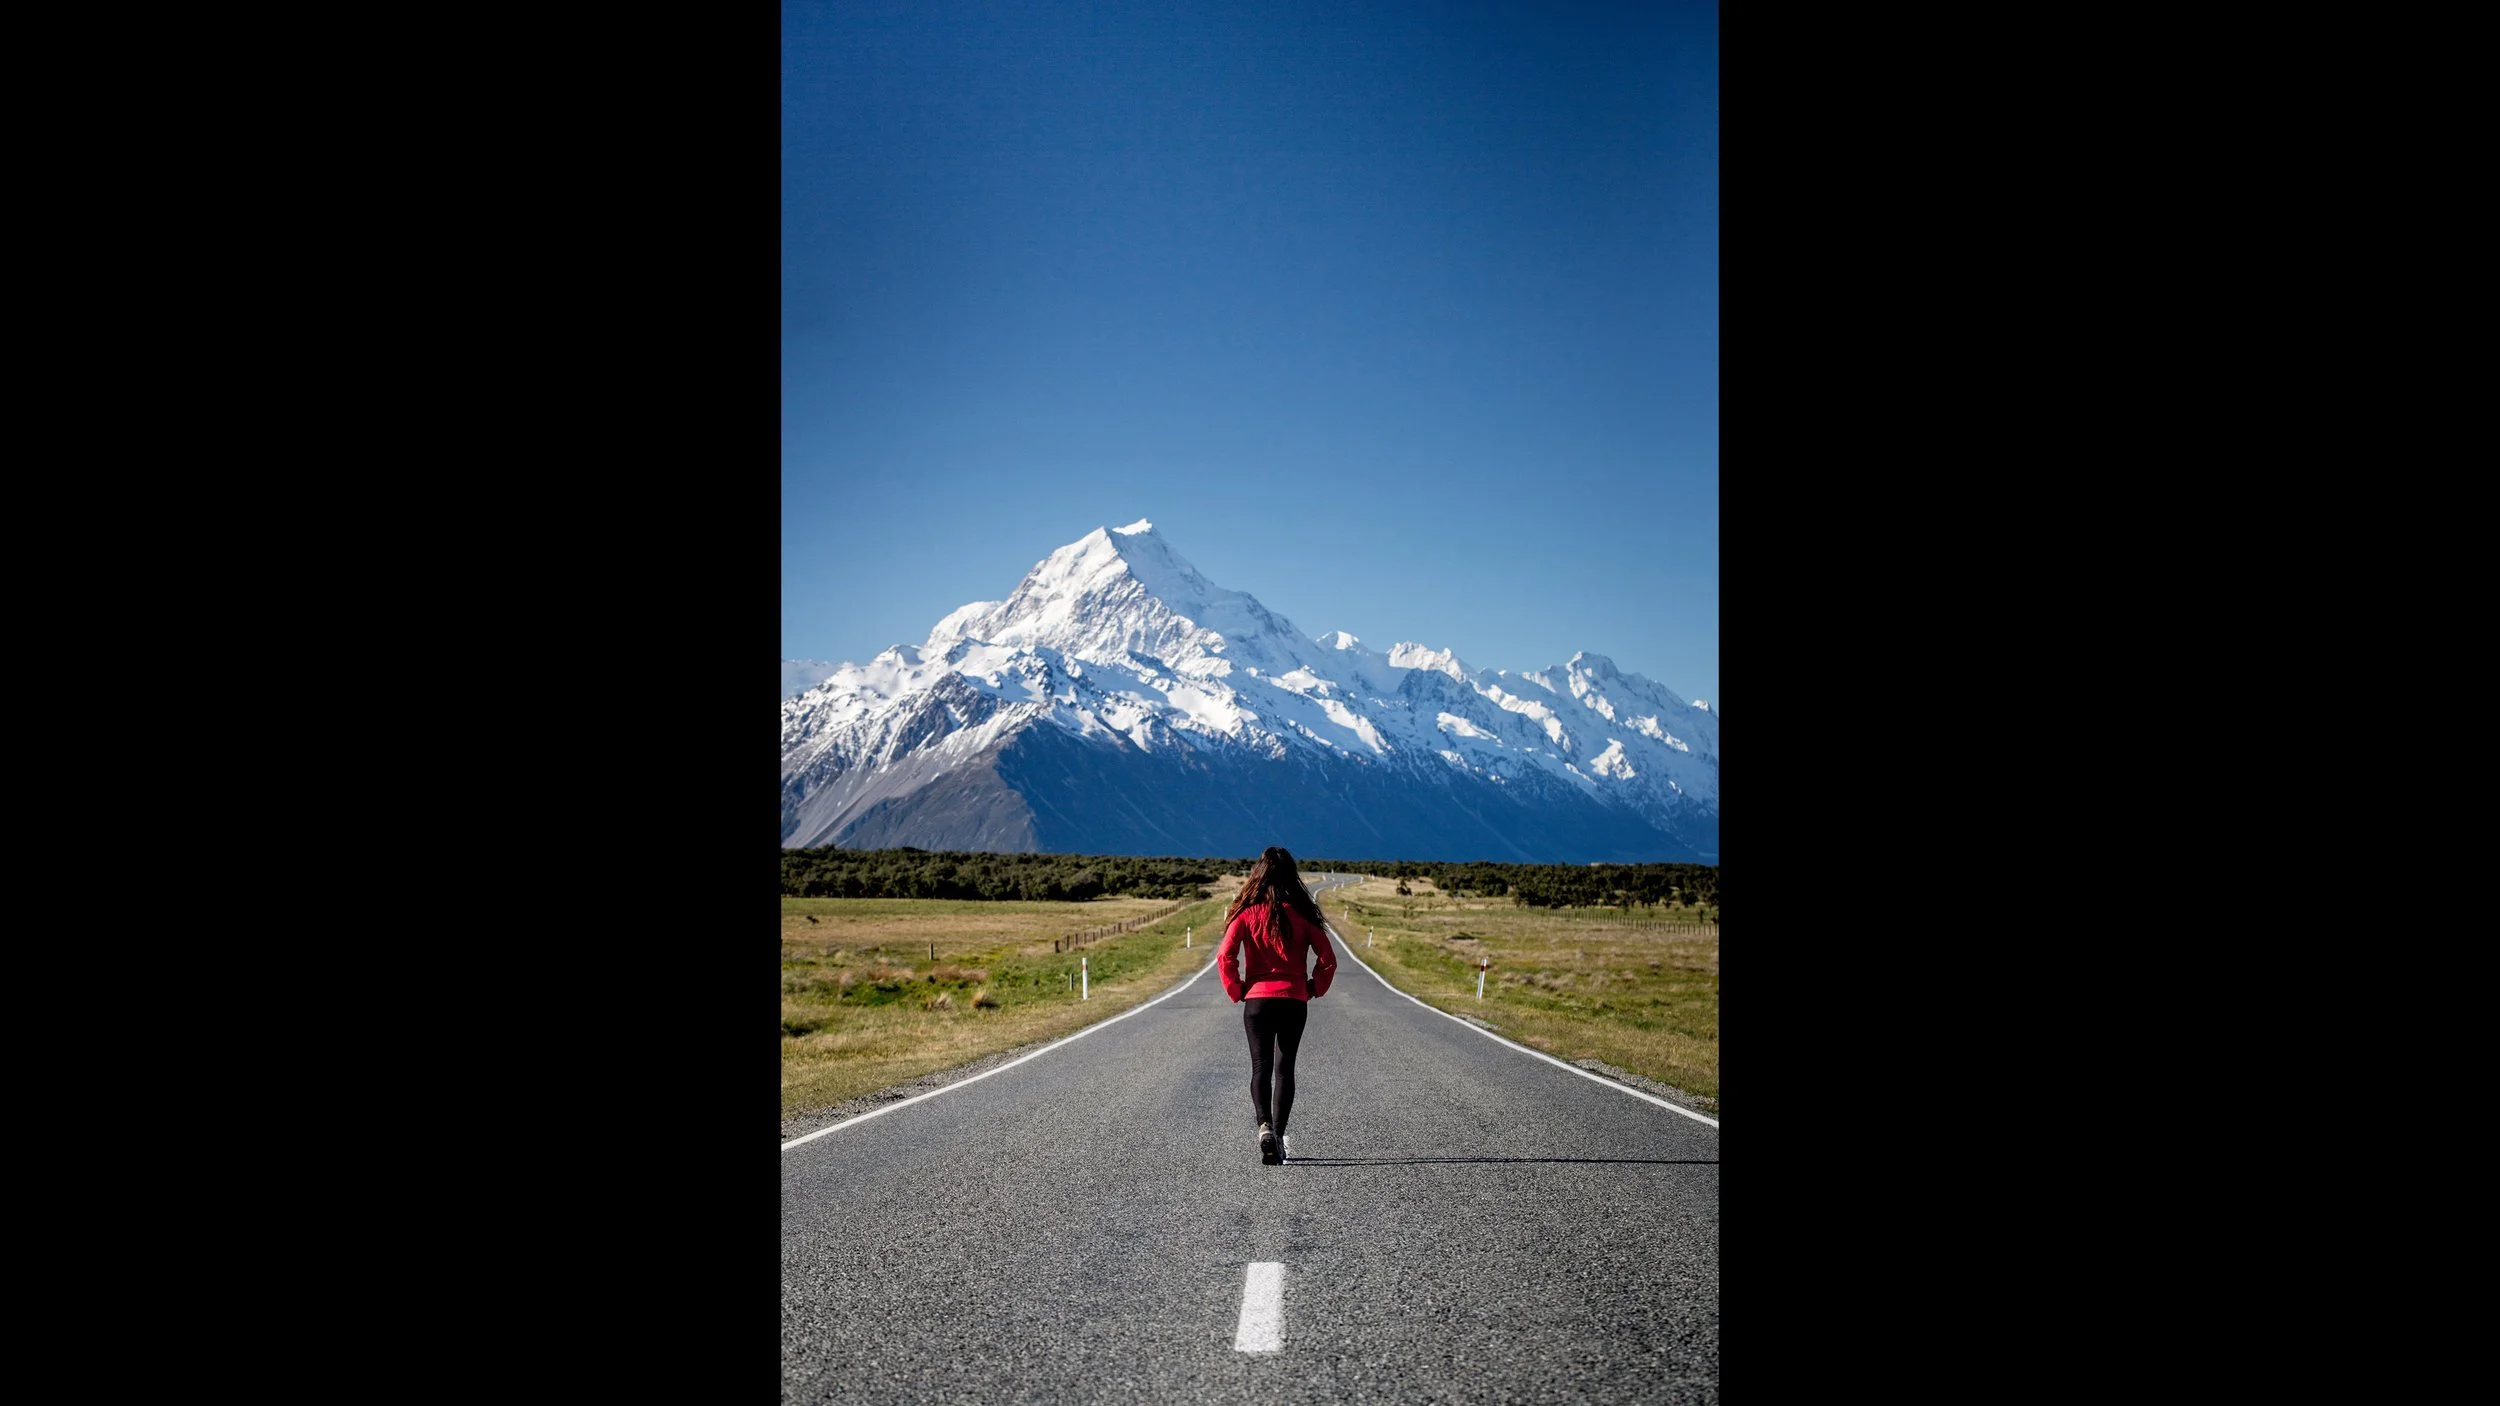
A winding road disappearing toward a mountain range naturally takes your eye on a journey through the photograph.
But leading lines don’t have to be obvious.
They can be:
shorelines, shadows, fences, rock formations, waves, buildings, pathways or even the shape created by several different objects.
They can be straight, curved, symmetrical or quite subtle.
The important thing is becoming aware of them.
Once you start actively looking for leading lines, you begin seeing them in places you previously would have walked straight past.
That awareness is a huge part of becoming a stronger photographer.
4. Look for diagonal lines
Diagonal lines can add movement and energy to a photograph.
A straight horizontal line can feel calm and stable.
Change that line into a diagonal and the frame can suddenly feel more dynamic.
Wide-angle lenses can exaggerate this effect, particularly when you have something strong in the foreground.
You can also create diagonal compositions simply by changing your camera position rather than photographing everything straight on.
This is one of those techniques that can be subtle, but it can make a big difference to how energetic a photograph feels.
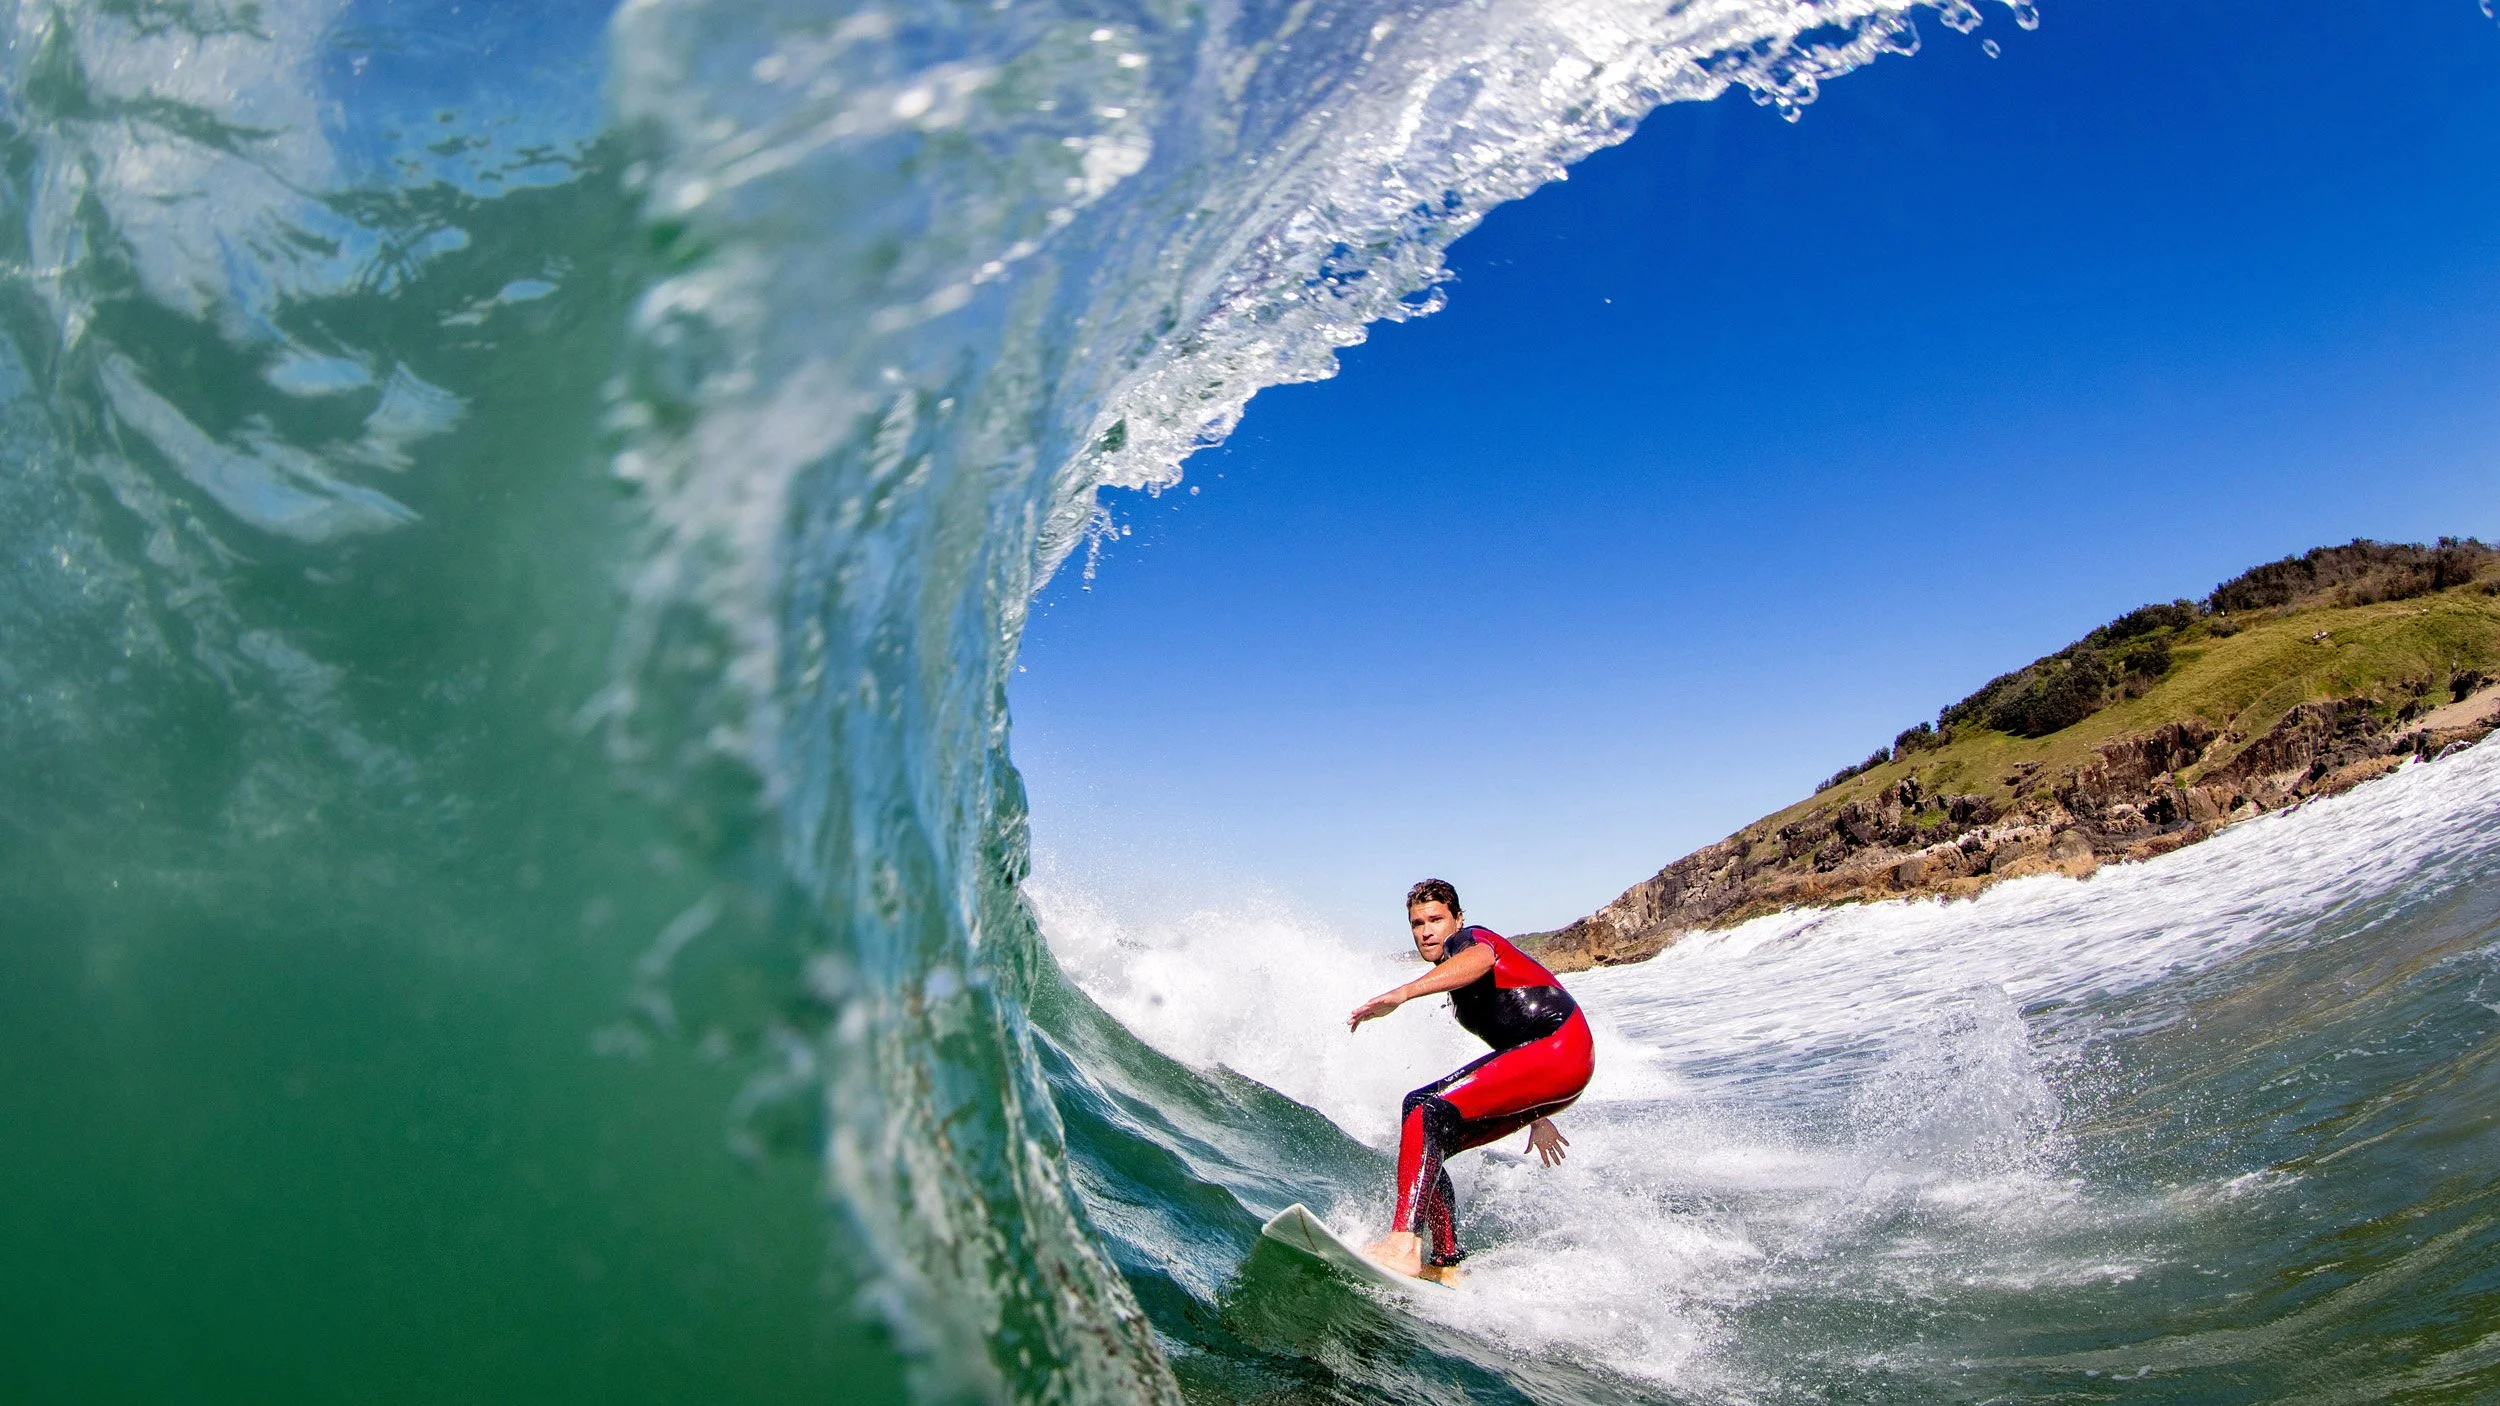
5. Use textures and patterns
Texture can be a really useful compositional tool, particularly when different textures contrast against each other.
One of my landscape photographs uses highly detailed rocks in the foreground against soft clouds created with a longer exposure.
The sharp, textured foreground gives the viewer something to visually latch onto.
From there the eye travels upward into the softer colours and clouds.
That contrast between sharp and soft becomes part of the composition.
Patterns can work in a similar way.
Repeated natural patterns, architectural shapes, rows of objects or recurring textures can create rhythm and structure inside the frame.
Often several composition techniques will work together.
The textured landscape example also uses the rule of thirds, with the stronger foreground occupying roughly two-thirds of the photograph.
You don’t have to choose one composition technique per photo.
Eventually they start working together instinctively.
6. Use negative space
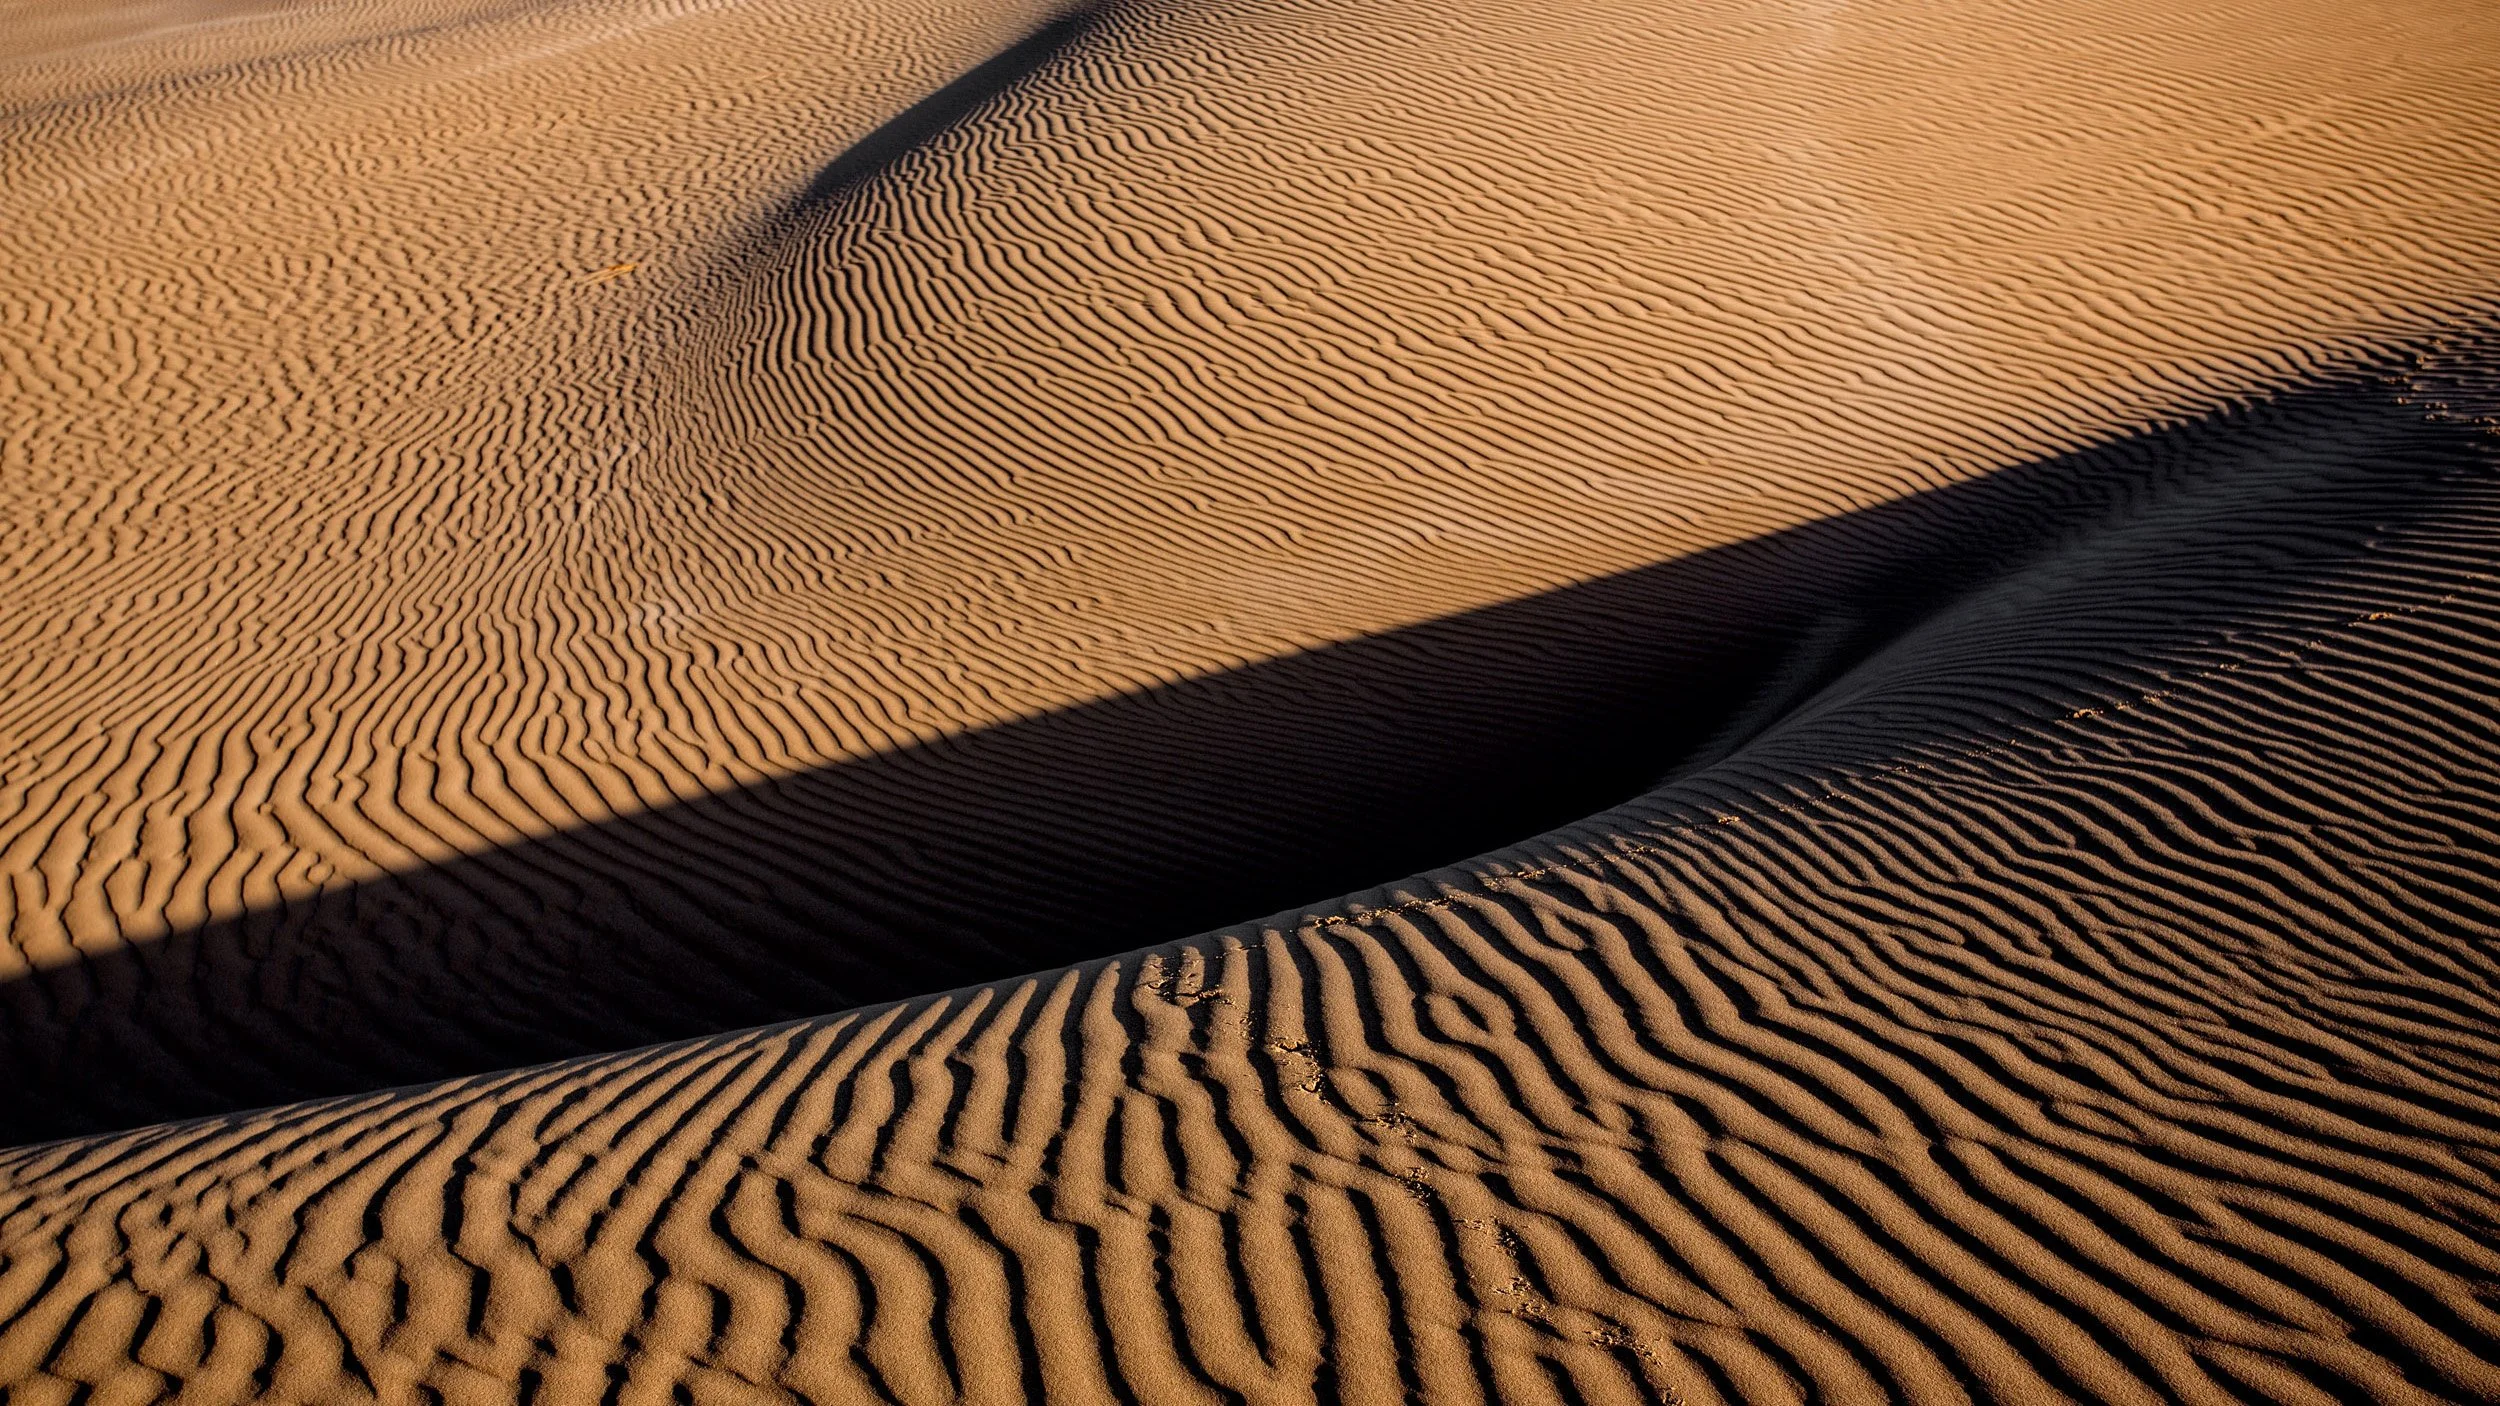
Negative space is one of my favourite compositional techniques, particularly for ocean and surf photography.
Negative space is simply an area of the photograph where there isn’t much happening.
That might be:
an open sky, calm water, a dark background or another relatively clean area surrounding the subject.
Our instinct is often to crop tightly and remove anything that isn’t important.
Most of the time that makes sense.
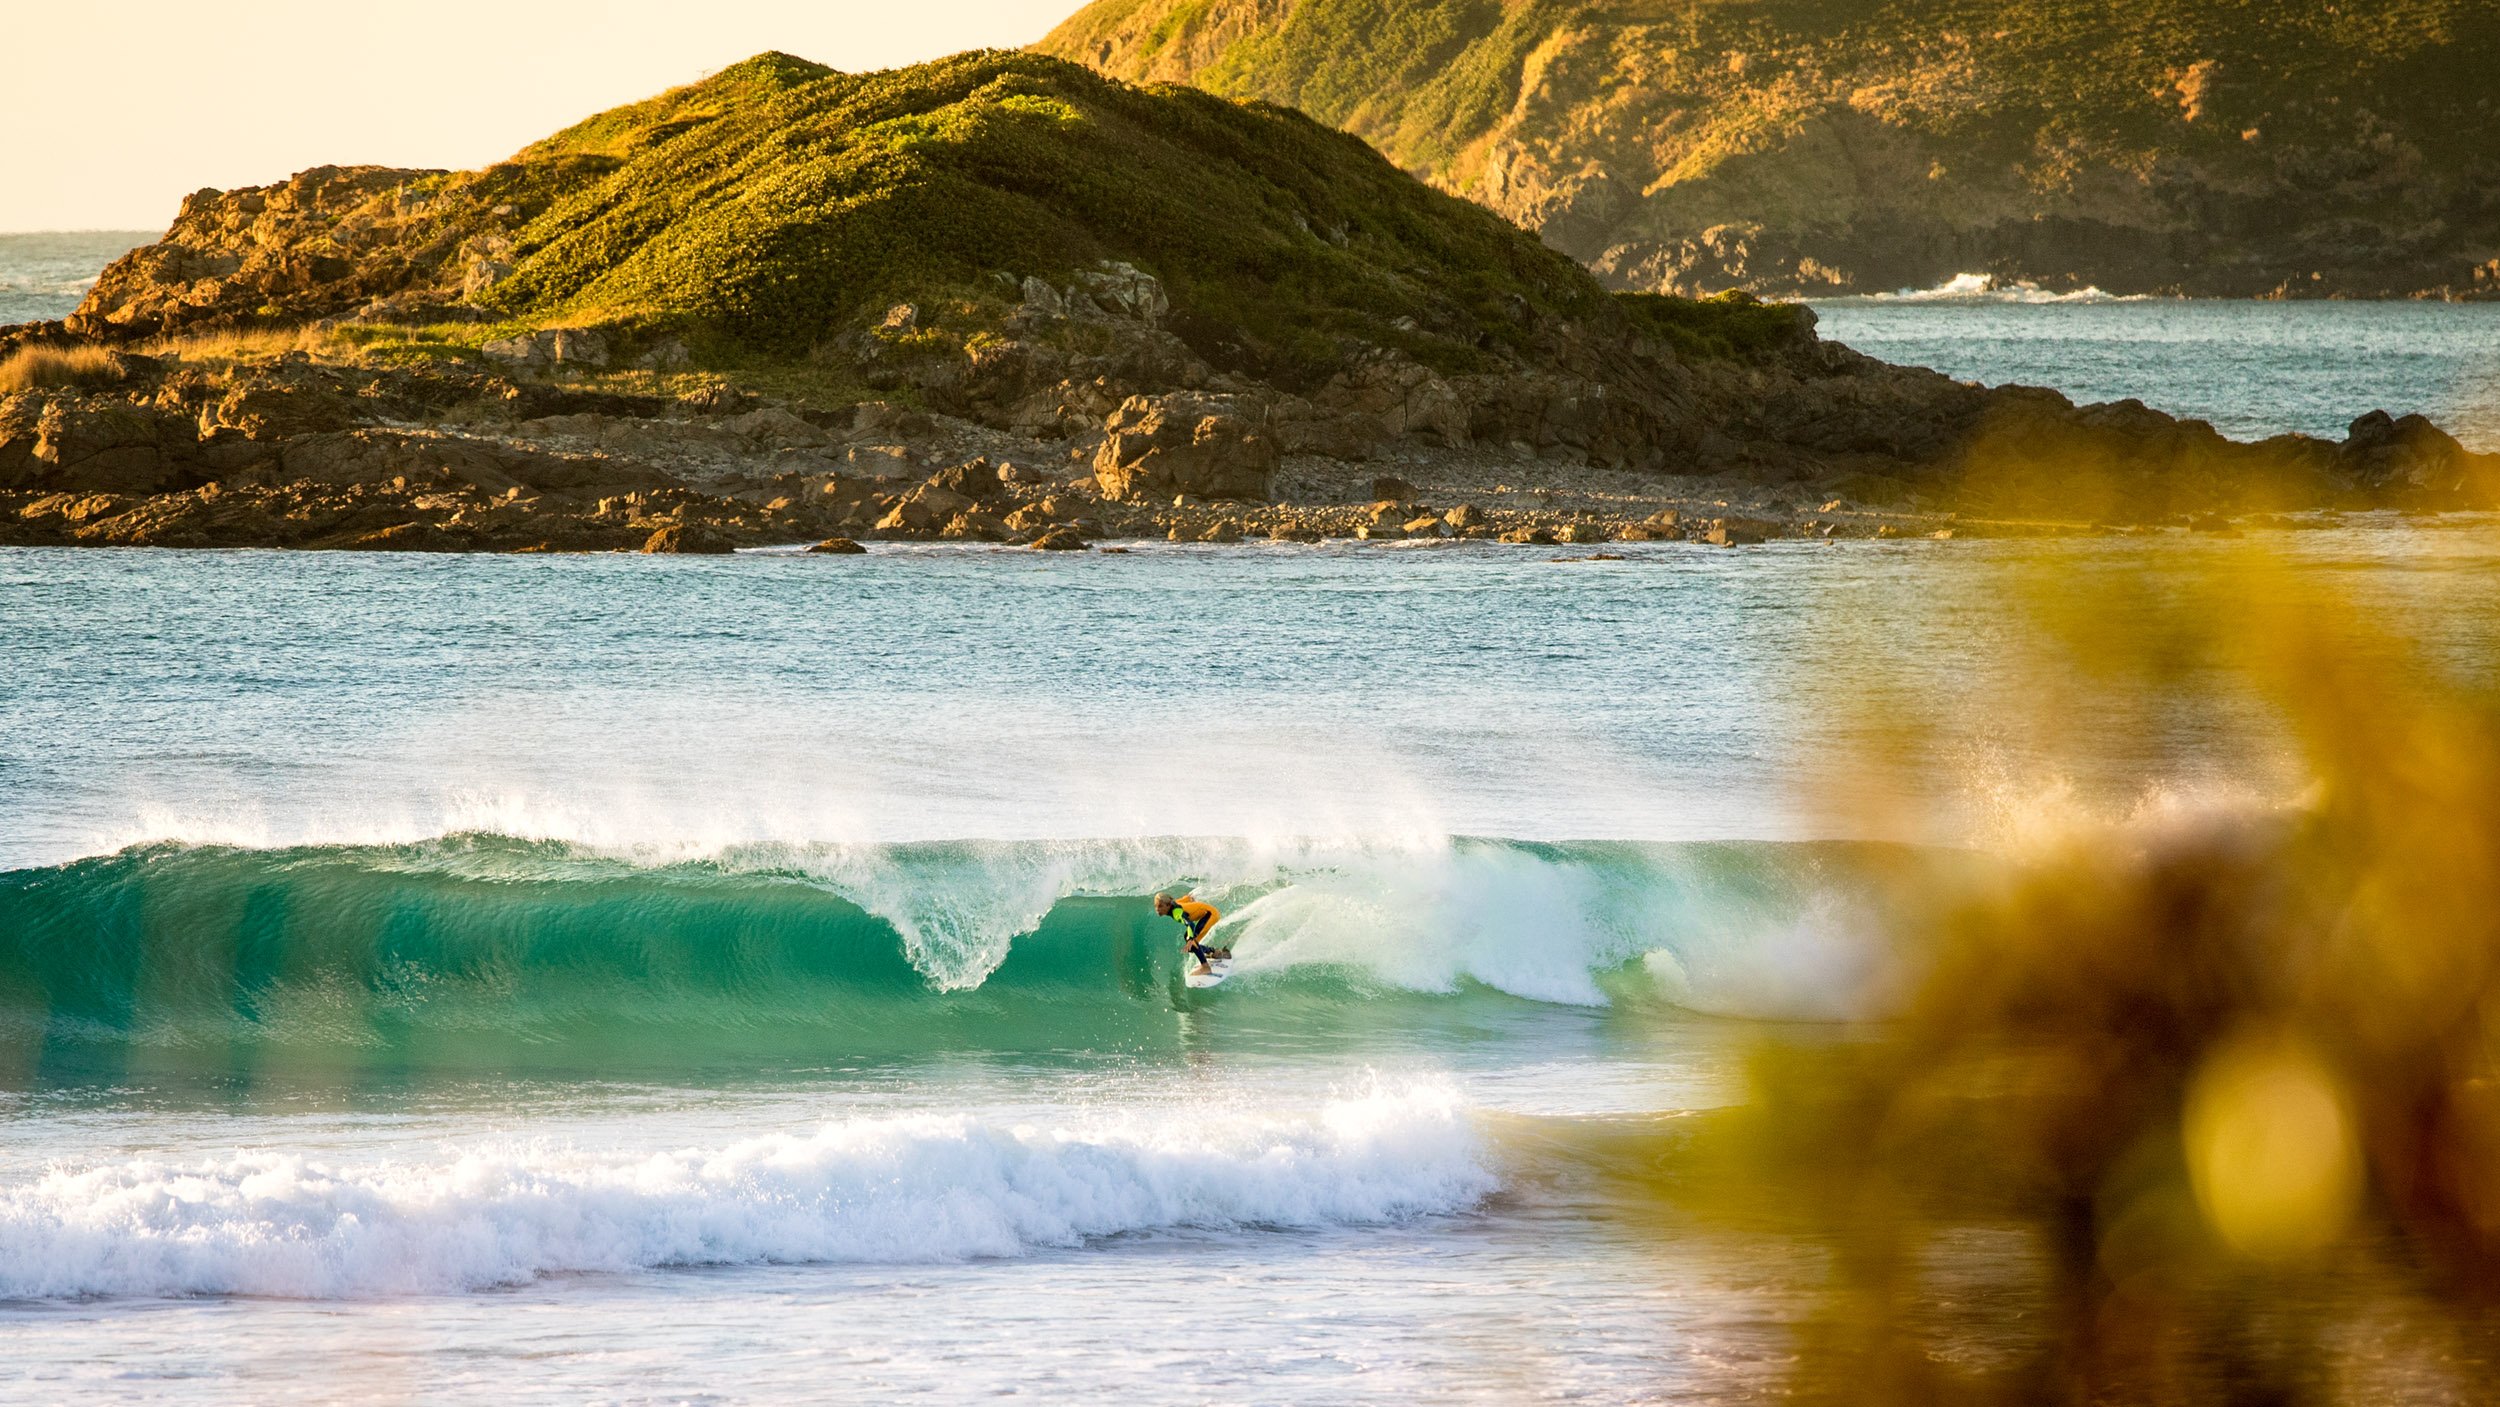
But sometimes deliberately leaving a lot of empty space around a small subject makes the photograph considerably stronger.
It can show scale.
It can create isolation.
It can give the image a calm or minimal feeling.
And it can make a relatively small subject incredibly powerful.
This is especially useful in ocean photography where a surfer might occupy only a tiny part of a huge expanse of water or sky.
Negative space is also useful commercially.
Magazine and book designers often love photographs with clean areas because they can place headlines or other text over them without covering the main subject.
So negative space can improve a photograph aesthetically while also making the image more useful to a client.
You can even create a similar effect with aperture.
A shallow depth of field can turn a distracting background into a soft, relatively simple area that allows the subject to stand out much more clearly.
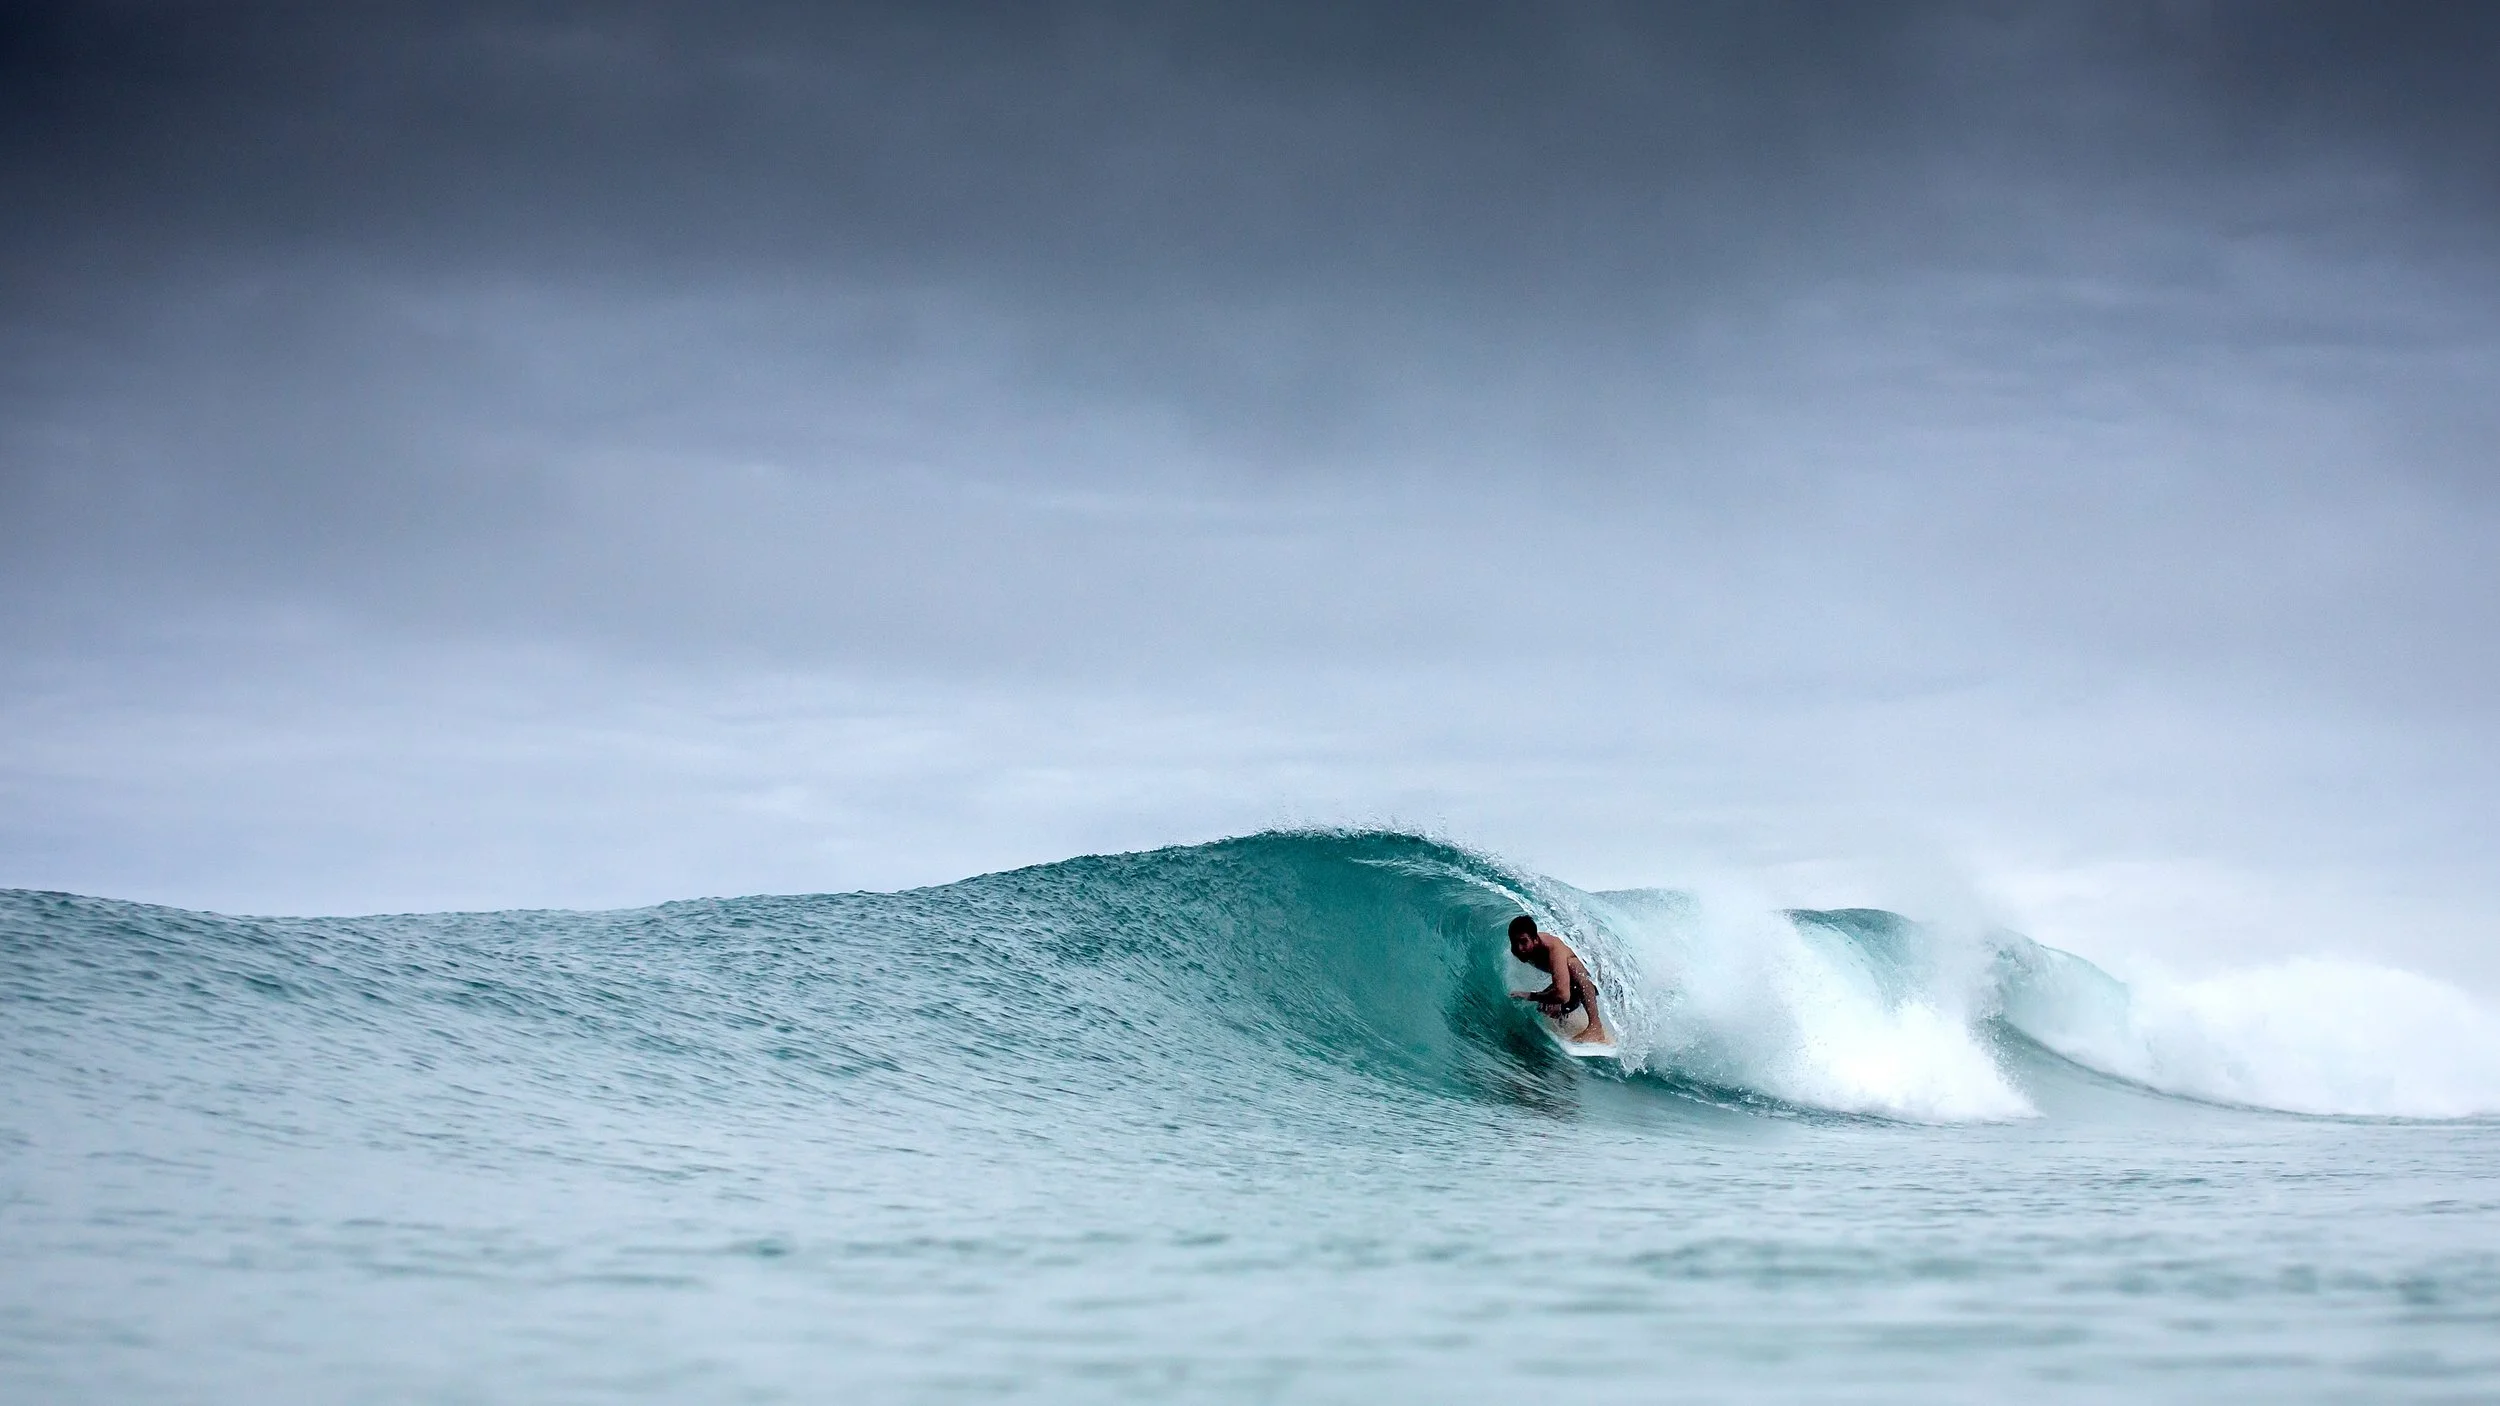
7. Change your viewpoint
This is one of the easiest composition techniques to understand and one of the most commonly ignored.
Stop photographing everything from normal standing eye level.
Move.
Get lower.
Get higher.
Move left.
Move right.
Walk closer.
Step further away.
When I used to photograph weddings, I regularly ended up lying belly-down on the ground, sometimes in mud or a shallow puddle, because dropping the camera those few extra inches created a better photograph.
I’d occasionally arrive at the reception filthy.
I didn’t particularly care.
Getting the photograph mattered more.
Most photographs in the world are taken from roughly human eye height because that is where people naturally hold a camera or phone.
That doesn’t make eye level wrong.
It simply means we’ve seen that perspective countless times.
Change your camera height and suddenly an ordinary scene can look very different.
Viewpoint is particularly powerful in surf photography
Water photography naturally gives you an unusual viewpoint because your camera is sitting close to the surface.
That low perspective can create beautiful blurred foregrounds and make small waves feel much larger.
But even in the water I try not to become locked into one camera height.
Sometimes raising the housing higher gives an entirely different feeling.
The same applies when shooting from land.
I’ve photographed small surf days where a standard eye-level image looked fairly ordinary.
Dropping down low and including foreground interest suddenly gave the scene much more depth and character.
Drone photography is another great example.
When high-quality drones first became widely available, those close top-down photographs felt incredible because most people had simply never seen that perspective before.
Now we see aerial photographs constantly.
They can still look amazing, but they aren’t as unusual as they once were.
That’s the lesson.
Look for viewpoints people aren’t accustomed to seeing.
8. Use colour contrast
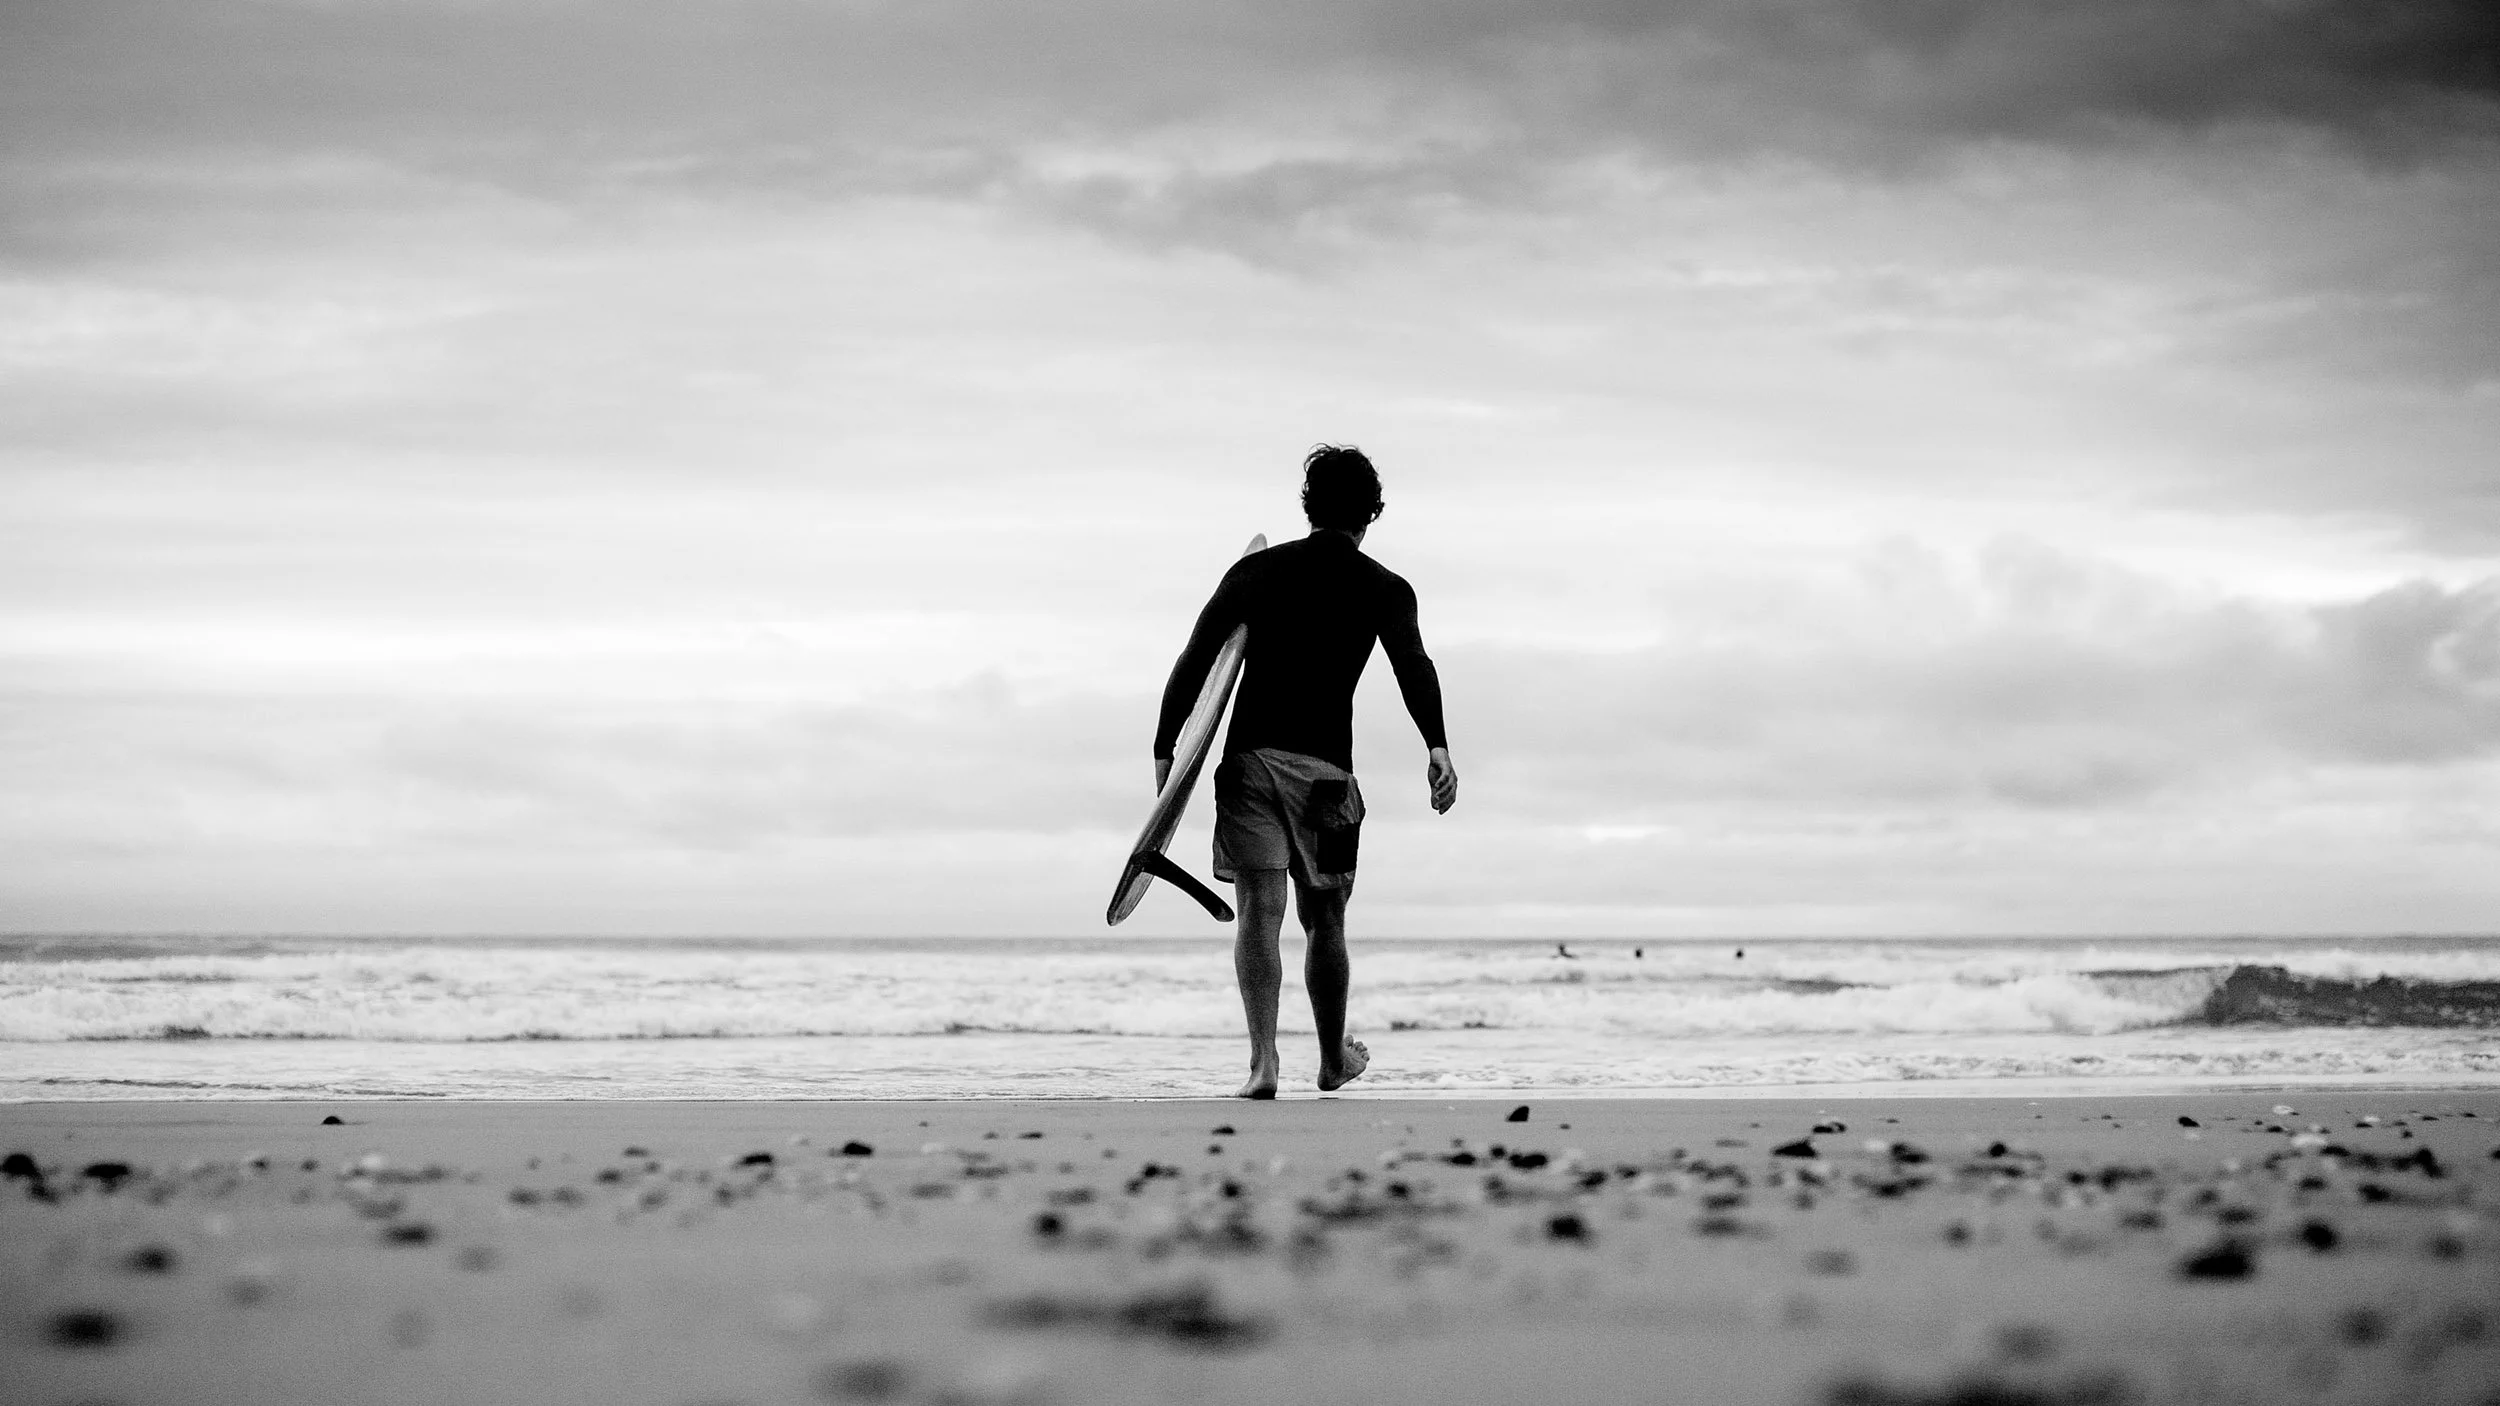
I love colour and I’m always looking for colour contrast in my photography.
Colour itself can become part of your composition.
A red surfboard against a green wave can immediately grab your attention.
A yellow board against an electric blue ocean works for the same reason.
Warm artificial lights against a deep blue evening sky can create a completely different kind of contrast.
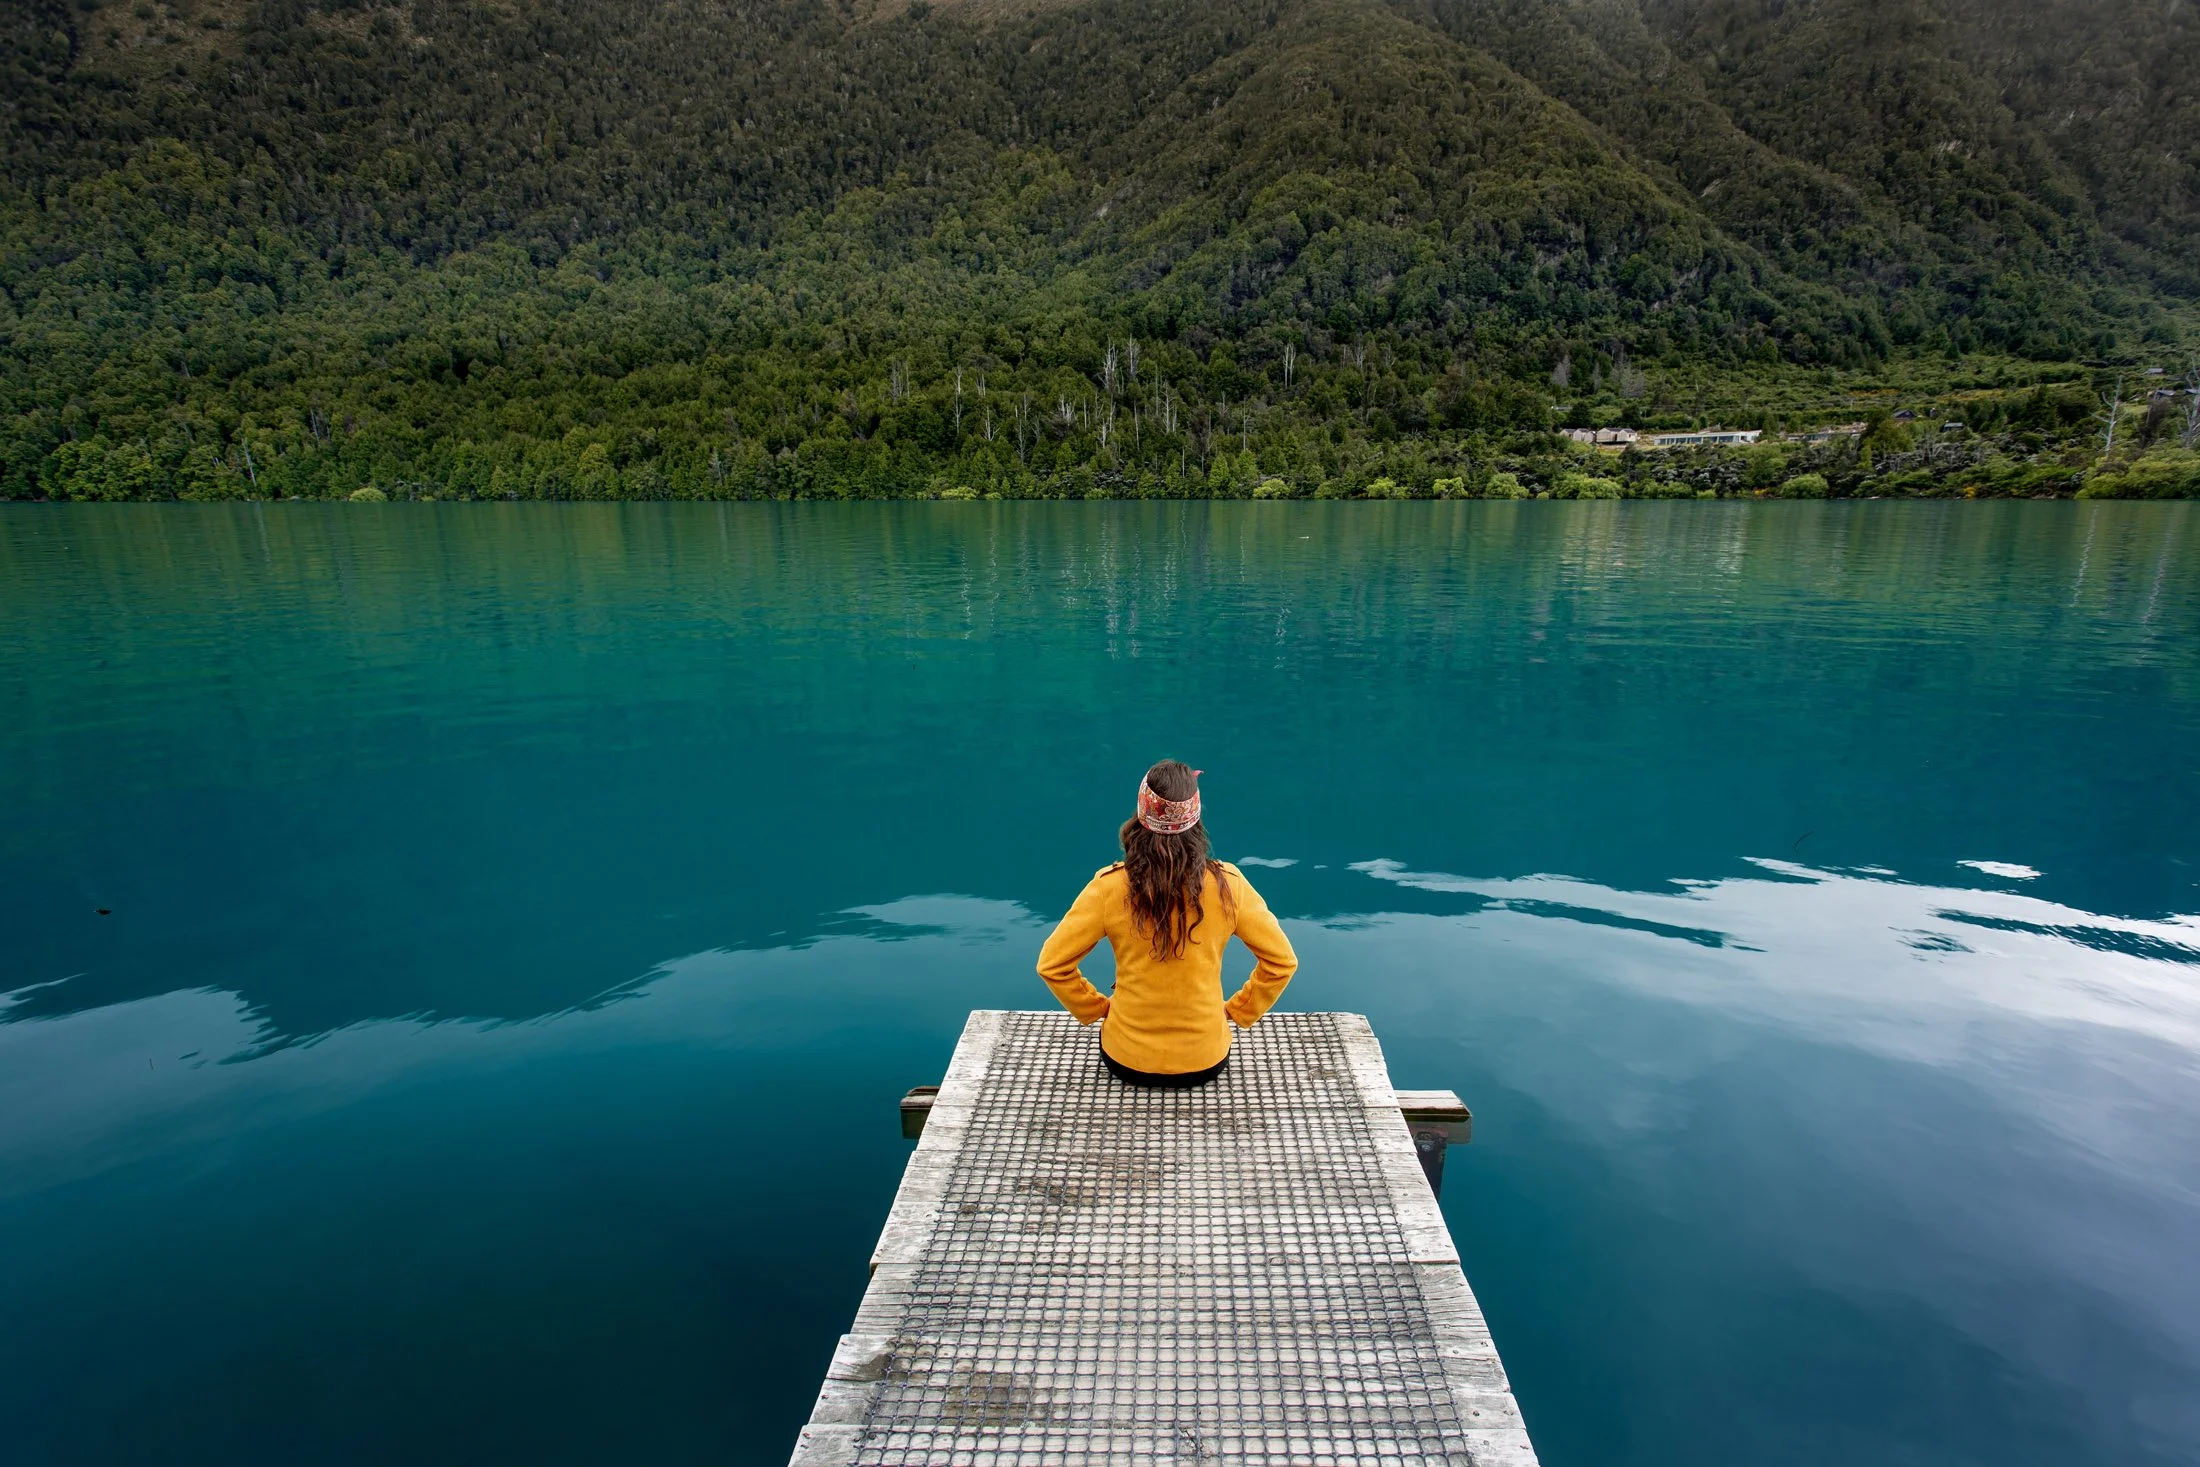
If I’m photographing someone beside a blue lake, putting them in a red jacket can make them stand out immediately.
You don’t always have control over the colours in front of you, particularly when documenting real situations.
But when you do have control, colour can be something you consciously arrange rather than simply accept.
9. Sometimes put the subject bang in the middle
This might sound strange after spending so much time talking about the rule of thirds.
But sometimes the middle is exactly where your subject belongs.
A strong centred composition can work beautifully when the scene has symmetry or when the central placement feels deliberate.
The important word again is intent.
If somebody is centred, I generally want that position to feel very deliberate.
They might be facing directly toward the camera, facing directly away, or sitting perfectly within a symmetrical scene.
A centred composition can make a very strong visual statement.
I just wouldn’t use it for every photograph.
Its impact often comes from the fact that it feels bold and deliberate.
Learn the rule of thirds, understand why it works, and then know when you want to ignore it.
10. Keep the viewer’s attention inside the frame
This is something I think about constantly when photographing people and action.
If you leave space on one side of the subject, think about where their body, eyes or movement are directing the viewer.
Generally I like the subject to be looking or moving into the open space.
For example, if a surfer is positioned on the left side of the photograph and travelling toward the right, leaving space to the right gives them somewhere to go visually.
Your eye goes to the surfer and then follows their movement deeper into the photograph.
The same idea can apply to somebody simply looking in a particular direction.
If they are right against the edge of the photograph and looking out of the frame, your viewer has effectively been shown the exit.
You usually want to keep them looking around the photograph for as long as possible.
There are exceptions.
I photographed Kelly Slater performing a manoeuvre where showing more of the wave behind him actually created the stronger composition because the direction of his body and movement turned back into the open part of the frame.
That’s why composition isn’t a mathematical formula.
You need to look at what is actually happening inside your particular frame.
A composition I got wrong
I think it’s important to show examples where things didn’t work too.
I have an image of a surfer where I failed to create the composition I wanted.
I placed her almost dead centre, but she wasn’t coming directly toward me.
She was looking toward the right side of the frame.
Because of that, the centred composition felt awkward.
Had I placed her further toward the left, the direction she was looking would have carried the viewer into the open space on the right.
I also had too much unneeded water in the foreground and not enough of the beautiful pink sunset sky above her.
A higher camera angle would have solved several problems at once.
It would have reduced the unnecessary foreground.
It would have included more of the sky.
And it would have moved the horizon away from the middle of the photograph.
I later tried improving the image with a crop, and it helped, but the frame became too crowded.
That’s another useful lesson.
Cropping can improve composition, but getting it right in-camera is better
Lightroom and Photoshop give us plenty of freedom to crop after the fact.
I use that when necessary.
But I consider post-production cropping a second chance rather than the goal.
Ideally I want to recognise the composition when I’m actually taking the photograph.
That gives me more resolution to work with and, more importantly, forces me to become a better photographer rather than assuming I can fix everything later.
How do you improve your photography composition?
Don’t try to remember all 10 techniques every time you take a picture.
That will probably make photography less enjoyable rather than more.
Pick one.
On your next shoot, perhaps concentrate only on the rule of thirds.
On the following shoot, look for foreground interest.
Next time, deliberately change your viewpoint.
Then start noticing leading lines.
As you practise these things, they stop feeling like rules you need to remember.
They start becoming instinct.
I still learn and refine my composition constantly.
That’s part of photography.
The important thing is that you are now thinking about it.
If you composed a photograph in a certain way because that is genuinely how you wanted it to look, then you’ve made a creative decision.
If you never considered composition at all, you’re leaving one of the most important parts of photography to chance.
Composition should support your creative vision, not control it
I’ve deliberately used the word “rules” cautiously throughout this article.
Photography is creative.
There isn’t one correct position for a surfer, one correct horizon, one correct amount of negative space or one correct place to stand.
These composition techniques are tools.
Learn them.
Practise them.
Understand why they work.
Then break them when you have a good reason.
The end goal is not to photograph according to a checklist.
It’s to reach the point where you lift the camera, look through the viewfinder and instinctively start arranging the frame with purpose.
That’s when composition becomes part of your photography rather than something you have to consciously remember.
Watch the full photography composition tutorial
In the video version of this article I walk through these techniques using my own photographs, including surf photography, landscapes and examples where several compositional ideas are working together.
Watch: 10 Composition Techniques That Will Improve Your Photography
About Tom Woods
Tom Woods is the photographer behind ST Images and has worked professionally in photography for more than 20 years.
His work spans tourism and accommodation photography, outdoor lifestyle and commercial campaigns, surf and water photography, landscapes and editorial assignments.
A large part of Tom’s approach is built around creating photographs that don’t simply document what something looks like, but communicate what it feels like to be there.
You can explore more photography tutorials and behind-the-scenes education on the Dream Life Photography YouTube channel, or view Tom’s commercial photography work more on this website www.stimages.com.au